Related: Garage Wall Storage for Heavy Tools: What Actually Holds
I have hung garage storage for twenty years, most of it in houses that were framed in a hurry and drywalled by somebody who was already thinking about lunch. The failures are almost never the rack. They are the two inches of drywall between the rack and the stud that somebody did not bother to find. A heavy duty garage storage system is a mounting problem first and a storage problem second, and that order never changes.
The good news is that the shapes are simple. There are really only three of them: overhead storage, which uses the ceiling, wall organizers, which use the studs at arm height and above, and heavy duty shelving, which uses the floor along a back or side wall. Every garage I have organized is some combination of those three, and the right combination is different for every household. A guy with two kayaks and a snowblower needs a different mix than a family with four bikes and forty boxes of holiday decorations.
Here are the four units I would put on a short list today, what each one is actually for, and the questions I ask before I put a single hole in somebody's drywall. If you take nothing else from this, take the stud finder.
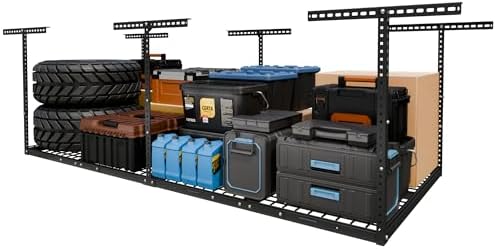
Best Overall: FLEXIMOUNTS 4x8 Overhead Garage Ceiling Storage Rack
Overhead storage is free real estate until the ceiling sags. This is the rack I point people to first, because it takes the biggest category of garage clutter, the seasonal bins, the camping gear, the leftover lumber, and moves it to the one part of the garage where nothing else competes for space.
A 4x8 platform is roughly the footprint of a sheet of plywood. That is not a coincidence, and it is not small. It will swallow the holiday bins, the coolers, and the bike you keep meaning to ride.
The whole game is the ceiling. Garage ceilings are usually covered in drywall, and the joists above them run in one direction. You want this rack spanning across those joists rather than running parallel to them, so the load spreads over as many of them as you can reach. The hardware in the box is a starting point, not a guarantee. If the instructions call for lag bolts, use lag bolts. If your ceiling is finished, that means locating the joists with a stud finder before you drill anything. This is the product that fails when somebody reaches for drywall anchors, and it is the product that outlives the garage when somebody does not.
Two things to measure first: the height of your door tracks with the door up, and the location of the opener rail. A rack that fits the ceiling but not the door is a very expensive shelf you cannot use.
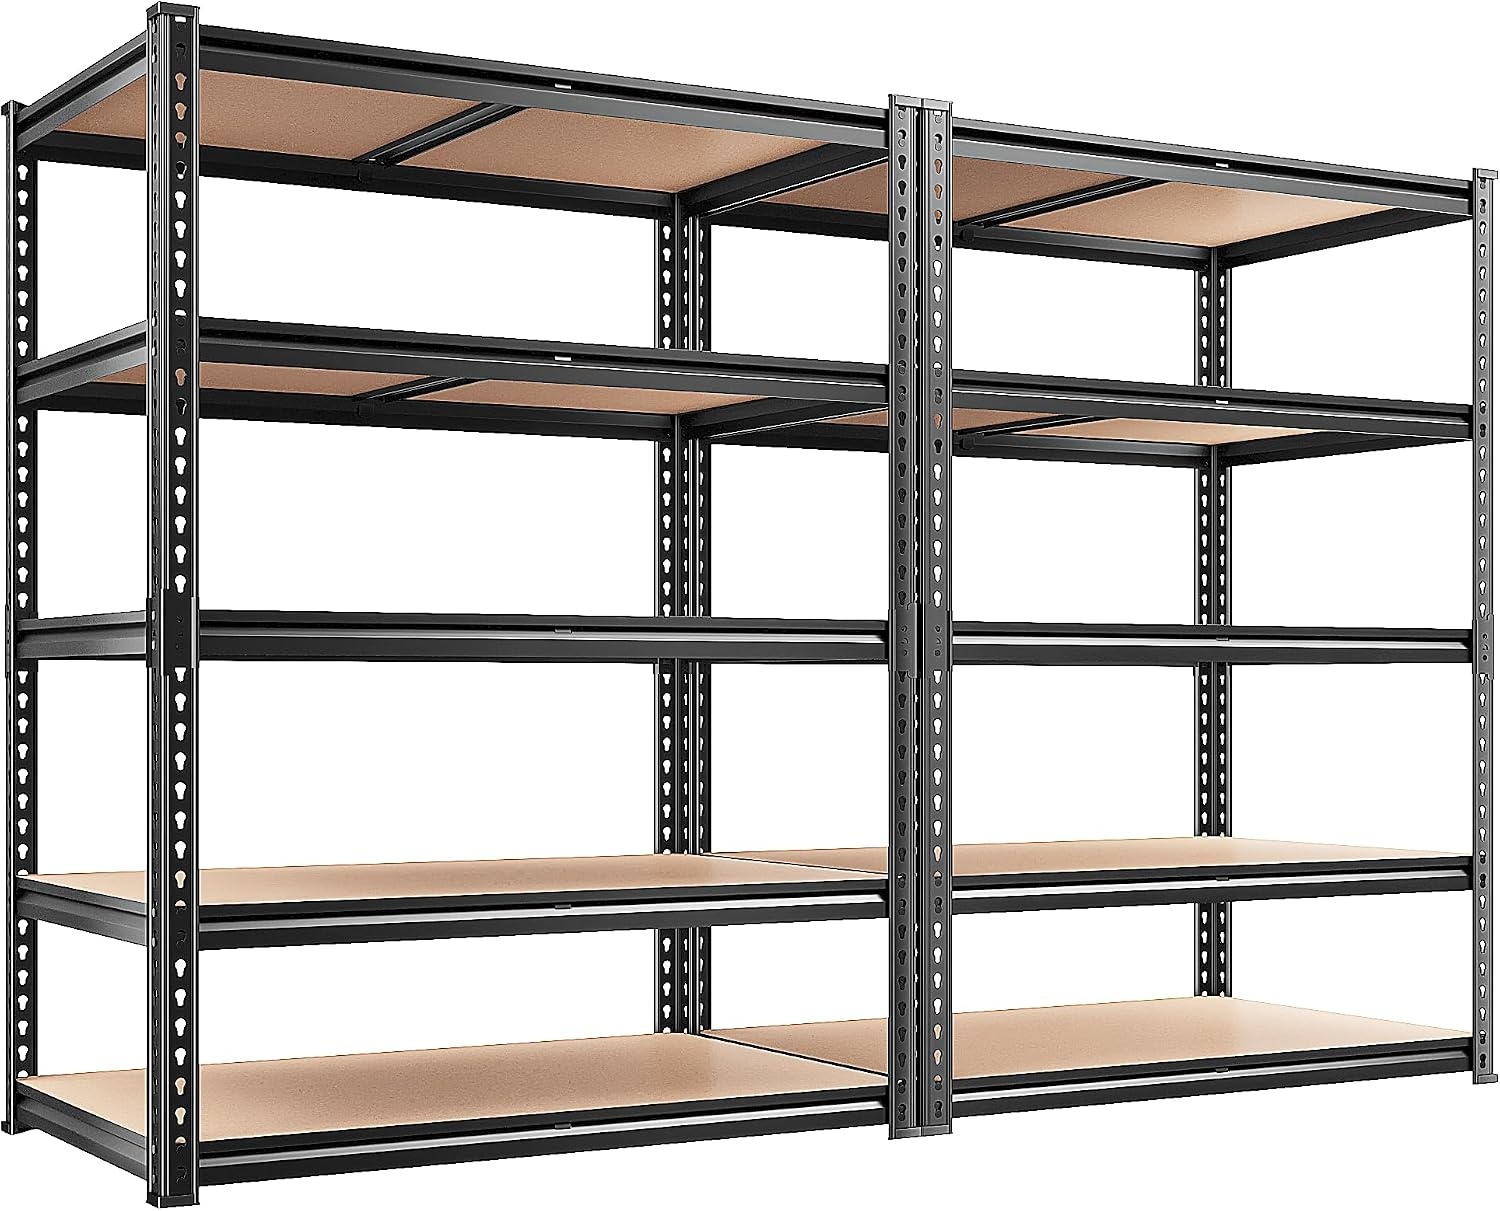
Best Value: REIBII 2 Pack Garage Shelving, 2400 LBS Each
Shelving is the least glamorous part of a garage storage system and the part you will use every single day. This pair is rated at 2,400 pounds per unit, and there are two of them, which is more capacity than most homeowners will ever fill on purpose.
What I like about this shape is that it does not care about your studs. It stands on the floor, so the load goes into the slab and the wall is only there to keep it from walking. That makes it the right answer for anybody whose walls are furred out, covered in pegboard, or otherwise unfriendly to a wall rack.
Two units give you options. Run them side by side along the back wall for one long run of bins. Put them in an L in a corner if your garage is deeper than it is wide. Leave one against the wall for the tool chest and the other for the boxes.
Two installation notes from years of doing this. First, your garage floor has pitch, because it drains toward the door. Almost every shelf I set gets a shim under one leg, and if you skip that, your bins slide and your level lies to you. Second, a weight rating is only as honest as the shelf beam under it. Look at the beam profile before you load the unit, and keep the heavy stuff on the bottom shelf. A loaded shelf gets tippy fast when the weight is up top.
Best for Long-Handle Tools: LBT 66" Garage Tool Organizer Wall Mount
Every garage has the same problem corner: shovels, rakes, a broom, a squeegee, a ladder, and a snow shovel, all leaning against the wall in a pile that falls over every time you pull one out. A 66 inch wall organizer rated at 720 pounds is how you end that.
The width matters more than people think. Sixty six inches is enough span to get past the pile and give each long tool its own slot, and it is wide enough that you will almost certainly catch three studs when you mount it. That is the point. A wide rack fastened to three studs is a different animal from a narrow one fastened to two, even when the number on the box is the same.
This is a garden tool organizer the way a pickup is a commuter vehicle. It will hold the ladders, the extension poles, and the trimmer. It is also the rack I would hang above a workbench if I needed long material storage, because it keeps the floor clear underneath.
Mounting, as always: find the studs, mark a level line, and use fasteners rated for the load. If you are going into block or concrete, that is a different conversation and a different anchor.
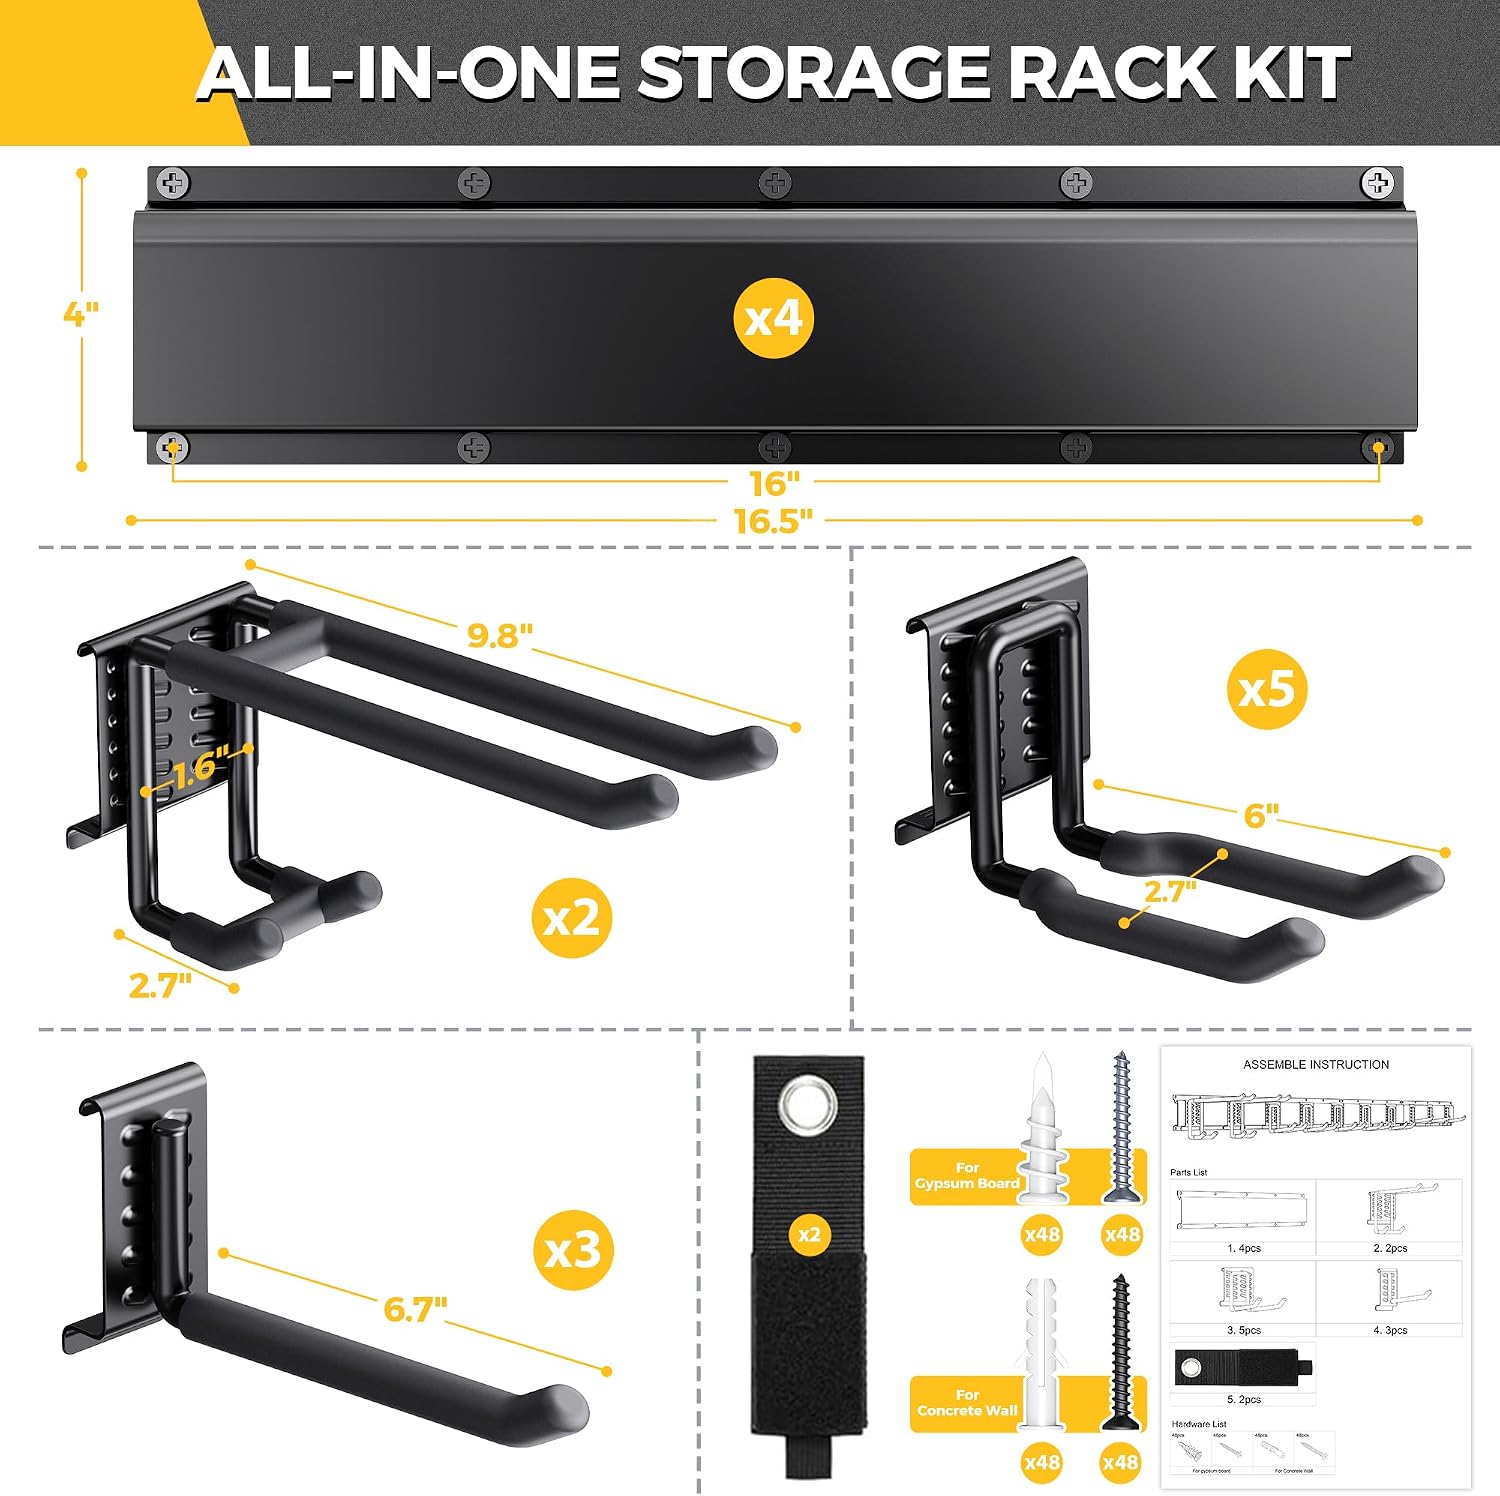
Best Adjustable Hook System: UUP 48" Garage Tool Organizer Wall Mount
This is the 48 inch, 440 pound version of the same idea, and the reason it earns its own spot is the adjustable hanging hooks. A fixed rack is a decision you make once. An adjustable one is a decision you can revisit when the tool collection changes, which it will.
That is the whole test I run on any wall system. A garage system you cannot reconfigure is just expensive shelving. If the hooks slide, if you can add a hook, if you can move the shovel slot to the other end when you buy a second ladder, the rack keeps working for years instead of months.
Forty eight inches is also a friendlier size for tight garages. It fits between a corner and a service door where a 66 inch rack would not, and it still carries more than most people will hang on it. The hook set covers the usual suspects: shovel, rake, broom, ladder.
Same rules apply. Studs, level line, fasteners that match the load.
What I check before anything goes on the wall
Five things, every time, in this order.
- The studs. Not one stud. Enough studs. A rack hanging off a single stud is a lever, and the wall will eventually tell you so. A stud finder is the most important tool in garage storage and the one everybody skips.
- The mounting hardware. Weight ratings are honest only if the hardware matches. The bracket is the weak point on nearly every system I have seen fail, and the anchor is the weak point on nearly every install.
- The dead load. That is what your ceiling can hold forever, not just on install day. A rack that holds its shape the day you hang it and sags by spring was never rated for what you put on it.
- Whether you can reconfigure it. Tools change. Bikes multiply. If the system cannot move with you, you will buy it twice.
- What the bracket is actually made of. Steel beats plastic, and the box will not tell you. Look at the part.
Where these four actually differ
The overhead rack and the shelving unit are not competing for the same job. Overhead is for the things you touch twice a year, and it costs you nothing but ceiling height. Shelving is for the things you touch every week, and it costs you floor space. Wall organizers sit in between: off the floor, at arm height, holding the tools you grab constantly.
If you are building this out from scratch, the order I would buy in is overhead first, because it frees the most space and because the ceiling is the one surface you are not already using. Then one wall organizer for long handles, sized to the wall you actually have. Then shelving for the bins, because by that point you will know how much of it you need.
The two wall organizers are the closest pair here, and the choice between them is mostly width. Go with the 66 inch unit if you have a long uninterrupted wall and a lot of long tools. Go with the 48 inch unit if you are fitting around a door, a corner, or a water heater, and if you expect the tool collection to keep changing.
Garage storage reference table
| Product | Best for | Mounting notes | Price |
|---|---|---|---|
 Visit on Amazon → Visit on Amazon →FLEXIMOUNTS 4x8 overhead ceiling rack |
Seasonal bins, camping gear, lumber | Span across the ceiling joists, lag bolts, verify the dead load | $145.99 |
 Visit on Amazon → Visit on Amazon →REIBII 2 pack garage shelving |
Bins, tool chests, everyday storage | Stands on the slab, shim the legs for floor pitch | $91.99 |
 Visit on Amazon → Visit on Amazon →LBT 66 inch wall organizer |
Shovels, rakes, brooms, ladders on a long wall | Cross three studs, fasteners rated to the load | $58.99 |
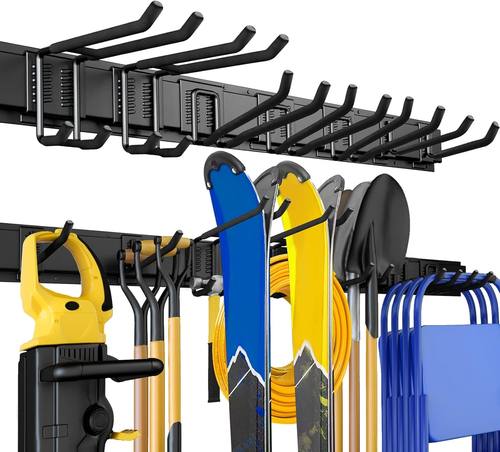 Visit on Amazon → Visit on Amazon →UUP 48 inch wall organizer |
Adjustable hook layout in tight spaces | Cross two or more studs, mark a level line first | $49.99 |
Should you buy the FLEXIMOUNTS overhead ceiling rack?
Yes, if you can reach your ceiling joists and you are willing to use real hardware. It is the biggest space win in this group, because it takes the boxes that eat your floor and puts them where nothing else lives. The rack is a platform, and platforms are honest: what you see is what you get.
What is not honest is the ceiling. Find the joists, span across them, and use the fasteners the instructions call for. Do that and the rack will outlive the garage. Skip it and you will be the guy with the sagging ceiling and the perfect angle in the photo. Measure the door tracks and the opener rail before you order, and you will not be surprised on install day.
Should you buy the REIBII 2 pack garage shelving?
Yes, if your clutter lives in boxes and bins, and especially if your walls will not take a wall rack without a fight. It carries the load down to the slab, it does not need a stud behind it, and two units give you a run you can shape to the room.
Shim the legs, keep the heavy bins low, and check the shelf beams before you fill it. That is the whole discipline. Shelving like this is not exciting, and it is the piece of the system you will touch more than any other. If you are starting from a garage where nothing has a home, this is where I would start, and the overhead rack is where I would go next.