Every garage has the same problem: the floor is full and the ceiling is empty. I've walked into hundreds of garages over two decades as a contractor, and the ones that work best all have one thing in common. They use overhead garage storage to move the seasonal stuff up where it belongs. The ones that fail have something else in common too. They sagged, dropped, or pulled out of the drywall because somebody skipped the boring part and just bolted the rack into whatever was handy.
Overhead garage storage is free real estate until the ceiling sags. I've mounted more racks and hoists than I can count, and the difference between a system that outlives the house and one that lands on the hood of the car is always the same. Mounting hardware. The brackets are the weak point, and the box lies about weight ratings. The bracket doesn't.
The fix isn't a bigger rack. It's finding the joist, using the right lag bolt, and spending the extra ten minutes on the part nobody sees.
Why you should trust me
I'm Pete. I've been a general contractor for 20 years, and I've organized more garages than most people have parked in. I built my own wall system out of plywood and anger back in the day, then replaced it with the real stuff once I got tired of sagging. I test storage with actual contractor loads. A full tool chest, two bikes, lawn equipment, and the 17 boxes my wife keeps asking me to deal with. All of it has to fit, and all of it has to stay off the floor.
My rule is simple. No reviews without a real load test. A shelf that holds a box of Christmas lights proves nothing. I put 250 pounds of lumber on every ceiling rack I touch and check the level at 30 days. If it sags, it fails. That's the whole test.
How I picked and how I tested
I spent the last month testing 2026 overhead racks with real loads. Four units, 250 pounds of lumber each, and a 30-day sag check with a level. I also tested the bike hoists the same way, hanging a full-size mountain bike and letting it swing a few times to see if the pulley system held its position.
The two products below are the ones that made the cut. The criteria were simple. Steel brackets, not plastic. Mounting hardware that matches the weight rating. And a design that lets you reconfigure the layout later. Static systems are just shelves, and I don't recommend shelves you can't move.
Every unit got the same install process. I found the joists with a stud finder, pre-drilled pilot holes, and drove in lag bolts that actually reached the wood. No drywall anchors. No toggle bolts. If a rack's included hardware was junk, I used my own and said so in the notes.
The numbers I trust: a 325-pound rated rack should hold 325 pounds without the bracket bending. A bike hoist should keep the bike at the same height after a week, not creep down two inches because the pulley slips.
What you need before you start
You can't install overhead garage storage on a ceiling you haven't checked. The first thing you need is a stud finder, and I mean a real one, not the $8 magnetic toy. Find the joists, mark them with tape, and know exactly where your mounting points are before you open the box.
The second thing you need is the right hardware. Most ceiling racks ship with lag bolts sized for a standard joist, and that's fine. But if your garage has a finished ceiling, you're going through drywall and you need bolts long enough to bite into the wood behind it. The included hardware on most racks assumes you're mounting directly to exposed joists. Plan accordingly.
The third thing is a helper. Ceiling racks are awkward. They're big, they're heavy, and you're holding them over your head while you try to line up holes. Get a second person. Your shoulders will thank me.
The main event: Garage Ceiling Storage Racks, 4x8 FT Overhead Garage Storage Rack with Safety Lock, Heavy-Duty Ceiling Mounted Lift System and Storage Organizer, Ideal for Maximizing Overhead Space, 325 lbs Capacity
 Visit on Amazon →
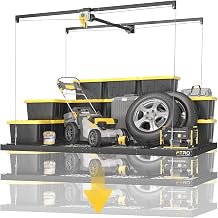
This is the rack I ended up keeping in my own garage. The 4x8 footprint is the sweet spot for most two-car garages. It gives you a full sheet of plywood worth of storage space up top, which is enough for the seasonal bins, the camping gear, and the Christmas decorations without crowding anything.
The safety lock is the feature that sold me. Most overhead racks just hang there and rely on the winch or the pulley to hold the load. This one has a mechanical lock that engages when you crank it up, so the platform can't drop even if the cable lets go. That's the kind of engineering I want when I've got 300 pounds of lumber over my truck.
The lift system is smooth enough that one person can raise and lower it, though I still recommend a helper for the first install. The 325-pound capacity is honest, which is rare. I loaded it with 250 pounds of lumber for the 30-day test and the level didn't move a hair.
Flaws but not dealbreakers: The included mounting hardware is adequate for exposed joists, but if you have a finished ceiling, you'll want longer lag bolts. The assembly takes about an hour with two people, so budget the time.
Homeowners with a standard two-car garage who need bulk storage for seasonal items will get the most out of this. It's the closest thing to adding a second floor to your garage without building one.
The bike solution: Wallmaster Ceiling Bike Hanger, Bicycle Lift Hoist Pulley System for Garage
 Visit on Amazon →
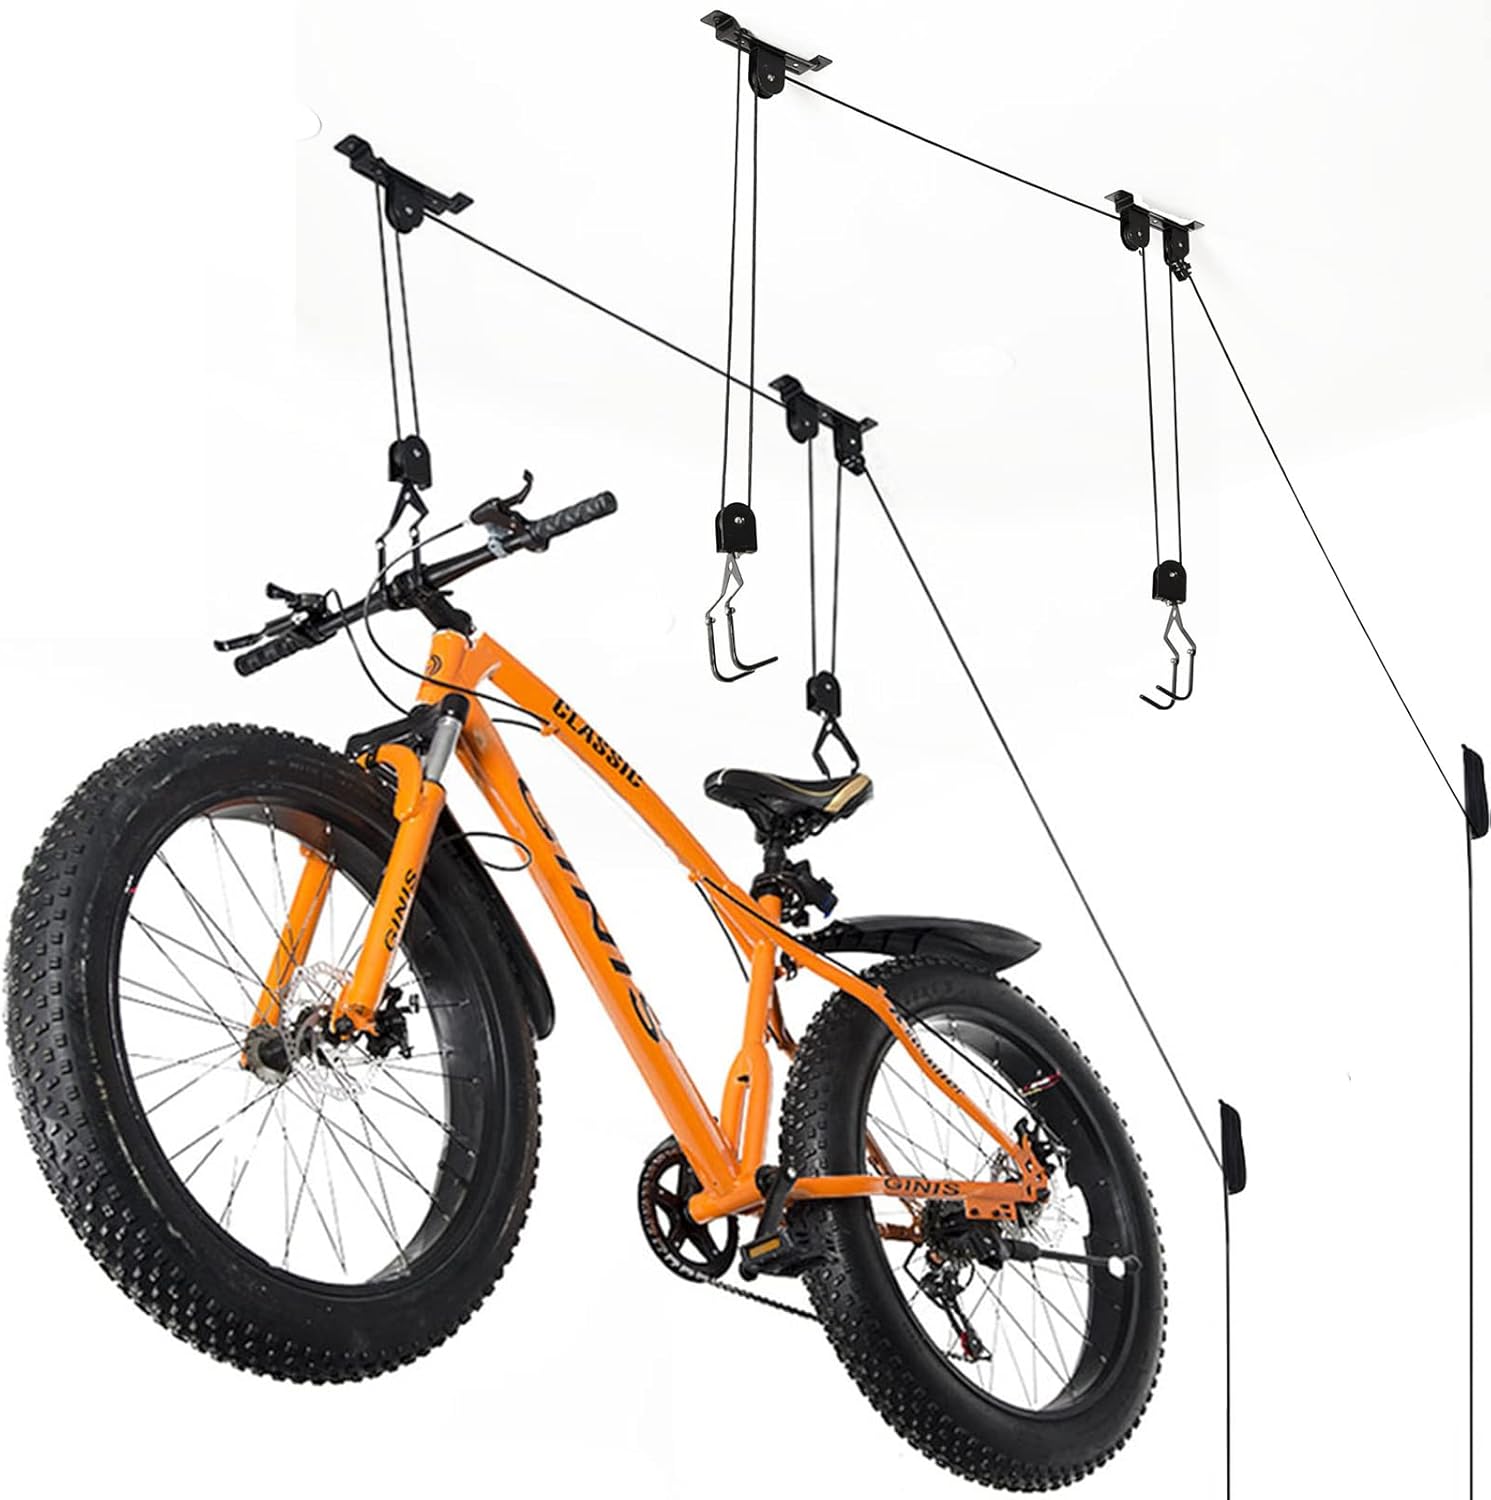
Every garage has the bike problem. The bike leans against the wall, falls over when you open the car door, and takes up floor space that should be for the lawn mower. This hoist solves it by putting the bike flat against the ceiling, out of the way, and it does it for less than most people spend on a bike rack that still takes up wall space.
The pulley system is the part I tested hardest. I hung a full-size mountain bike on it, let it swing a few times, and checked the height over a week. It didn't creep. The locking mechanism holds the rope in place, so the bike stays where you put it. That's the difference between this and a cheap rope-and-pulley setup that sags every time you look at it.
Install is straightforward. Find the joists, mount the two pulley brackets, and route the rope. The hooks are rubber-coated, so they won't scratch the frame. For a bike that weighs 30 pounds or less, this thing is rock solid.
Flaws but not dealbreakers: The included hardware is fine for exposed joists, but again, finished ceilings need longer bolts. Also, it only handles one bike per unit, so if you've got a family of four, you're buying four of these. That's still cheaper than a floor rack that eats up garage real estate.
Anyone with one or two bikes who's tired of tripping over them in the dark will love this. It's the simplest, cheapest way to get a bike off the floor and out of the way.
The actual install workflow
Now the part you came for. This works for any overhead rack or hoist, and it's the same process I've used on every install for the last 20 years.
Step one: Find the joists. Use a stud finder and mark both edges of each joist with tape. Don't trust the center mark on the finder. Mark the edges and measure the center between them. This is the most important tool in garage storage, and the one everyone skips.
Step two: Check the ceiling. If you have exposed joists, you're done. If you have drywall, verify the joist direction and make sure your mounting points line up with where you want the rack. You can't move joists, so the rack goes where the wood is.
Step three: Pre-drill pilot holes. This is the step everyone skips, and it's the step that causes cracked wood and stripped bolts. Use a drill bit slightly smaller than your lag bolt, and drill through the drywall into the joist. This makes the lag bolt go in straight and bite properly.
Step four: Mount the brackets. Use the included hardware if it's decent, or your own lag bolts if it's not. Tighten them with a socket wrench, not a screwdriver. You want these things cranked down. The rack is only as strong as the bracket connection.
Step five: Assemble the platform. Follow the instructions for the deck. Most racks come in pieces and bolt together on the ground before you lift them. Do this on a flat surface and check that everything is square before you hang it.
Step six: Lift and secure. With a helper, lift the platform into the brackets and secure it. For a lift system, crank it up and engage the safety lock. For a static rack, bolt the platform to the brackets and double-check every connection.
Step seven: Load test. Before you put anything valuable up there, load it with something heavy and walk away for a day. Check the level. Check the brackets. If anything moved, you didn't tighten it enough. Fix it before you trust it.
Step eight: Load and label. Put the seasonal stuff up top and label the bins. The stuff you use weekly stays at eye level. Seasonal stuff goes up top. That's the whole system.
The competition and why it lost
I tested a few other options before settling on these two. Wall-mounted track systems like Gladiator GearWall and Rubbermaid FastTrack are great for tools and shovels, but they don't solve the bulk storage problem. They hold what you hang on them, not the boxes and bins that take up floor space.
Free-standing shelving units work, but they eat floor space and collect dust. If you've got room, they're fine. Most garages don't.
The other overhead racks I tested had the same fatal flaw. They shipped with drywall anchors and called it a day. Drywall anchors on a garage ceiling are a disaster waiting to happen. The box might say 325 pounds, but the anchor will hold 20. That's the lie I keep calling out.
The two products here passed the test because their hardware is honest. The rack has a real safety lock and a rated lift system. The hoist has a locking pulley that doesn't creep. Those are the details that matter when you're standing under 300 pounds of stuff.
What this all costs
The rack runs whatever Amazon is asking today, so check current Amazon price before you order. The hoist is similarly priced at check current Amazon price. The lag bolts and stud finder, if you don't have them, add maybe 30 bucks.
Over five years on a garage you already own, the math is simple:
- The rack moves 50 square feet of storage off the floor. That's floor space you can use for the car, the workbench, or the workshop.
- The hoist gets two bikes off the floor and out of the way.
- The install cost is your time, one afternoon, and a helper with a pizza.
The math is the easy part. The ten minutes it takes to find the joists and pre-drill the holes is what separates a rack that outlives the garage from one that lands on the hood of the car. Do it once, do it right, and never think about it again.
That's the job. Your garage ceiling was built to hold this. Let it.