
Most garages have three feet of dead space above the door tracks and nothing in it. An overhead garage storage rack turns that space into a shelf you never have to walk around, and the whole job comes down to one question: what is holding it up?
I have hung racks from joists that would hold a truck, and I have pulled racks out of drywall that were about three months from landing on a hood. The rack is almost never the problem. The mounting is. Get the mounting right and the rack outlives the garage. Get it wrong and you find out at two in the morning.
I am Pete, a general contractor in Columbus, Ohio, twenty years in. I have organized more garages than most people have parked in, including my own, which I built out of plywood and anger before I got tired of watching shelves sag. What follows is the workflow I use on client ceilings, the load plan that keeps a platform level for years, and the two pieces of gear that do most of the work.
Why you should trust me
Twenty years of residential contracting means twenty years of ceilings, and a lot of those jobs ended with me on a ladder in somebody's garage deciding whether a rack could go up at all. I test storage with real contractor loads: a full tool chest, two bikes, lawn equipment, and the seventeen boxes my wife keeps asking me to deal with.
Right now I am in the middle of a 30-day sag check on four overhead racks, 250 pounds of lumber on each, checking them with a level every few days. Two of them have moved. The ones that moved had one thing in common, and it was not the steel.
I do not trust a weight rating printed on a box. I trust the bracket, the bolt, and the lumber behind it.
How I picked and how I tested
Four things decide whether a storage system is worth your Saturday.
First, what are the brackets actually made of? Steel beats plastic, always. Second, does the mounting hardware match the weight rating? The box lies, the bracket does not. Third, can you reconfigure it later? A system you cannot move around is just expensive shelving. Fourth, would I trust it with my own tools hanging over my own car?
I checked fit and clearance the way I do on a job site: ceiling height, joist direction, door track travel, and whether the platform interferes with the opener rail. I measured drop distance and thought about what a person standing under a loaded platform actually has for headroom. For the bins, I looked at how they stack, how they carry when full, and whether the lid stays put when you slide one out from under another.
The numbers that matter on a ceiling rack are simple. Your joists, not the rack, set the limit. A manufactured truss bottom chord is usually rated for drywall and insulation, not for a few hundred pounds of holiday decorations. If your garage has trusses instead of solid dimensional lumber, you spread the load across several of them with a backer, or you do not hang the rack.
What your ceiling can actually hold
Dead load is what your ceiling can hold forever, not just on install day. That is the number that matters, because a rack loaded in October sits there until you sell the house.
Find your joists with a stud finder and confirm with a thin finish nail. The most important tool in garage storage is the stud finder, and it is the one everyone skips. Joists run one direction, usually perpendicular to the ridge. Your rack should span at least three of them, ideally four.
If you have solid 2x8 or larger joists on 16-inch centers, you can usually bolt a rack directly to them and be fine with reasonable loads. If you have trusses, engineered I-joists, or anything manufactured, run a 2x6 or 2x8 across four trusses with structural screws and hang the rack from the backer. It costs you twenty minutes and it spreads the load across the whole ceiling instead of two boards.
Then measure your clearance. A garage door needs its track, its springs, and its travel. Nothing goes within a few inches of the door's path, and nothing blocks the opener rail. I have seen a beautiful rack install turn into a dented door panel because somebody measured the ceiling and not the door.
Ceiling height matters too. Under about eight feet, a hanging platform eats the space you need to walk under it with a lawnmower, and you will hate it within a month.
Our pick: FERO Motorized Overhead Garage Storage Rack with Remote Control, Heavy-Duty Ceiling Mounted Organizer, 4x8 FT Ceiling Storage Lift System, Space-Saving Hanging Garage Shelves, 325 LBS Capacity
 Visit on Amazon →
This is the one I would spec when the owner does not want to own a ladder. The platform is a 4x8 footprint, so it gives you the shelf area of a full sheet of plywood, and the lift is motorized with a remote, which means you lower it to load instead of climbing. The rated capacity is 325 pounds.
The catch with anything motorized is the same catch as anything else on a ceiling: the motor does not care what it is bolted to. You still need joists, you still need the right bolts, and you still need the platform clear of the door travel. Motorized racks are heavier than static ones, so plan on a second person for the lift into position, and plan on finding the joists before the box shows up rather than after.
For a garage where the seasonal stuff lives above head height and nobody wants to drag out a step ladder four times a year, this is the clean answer. Check current Amazon price before you order, and read the mounting instructions for your ceiling type before you drill anything.
Flaws but not dealbreakers: A motorized unit adds a control and a power path to a job that used to be four brackets and a beam. If your ceiling has no reasonable place to run power, budget for that part too.
Anyone with a solid ceiling, eight feet or more of clearance, and a household that stores by season will get the most out of it.
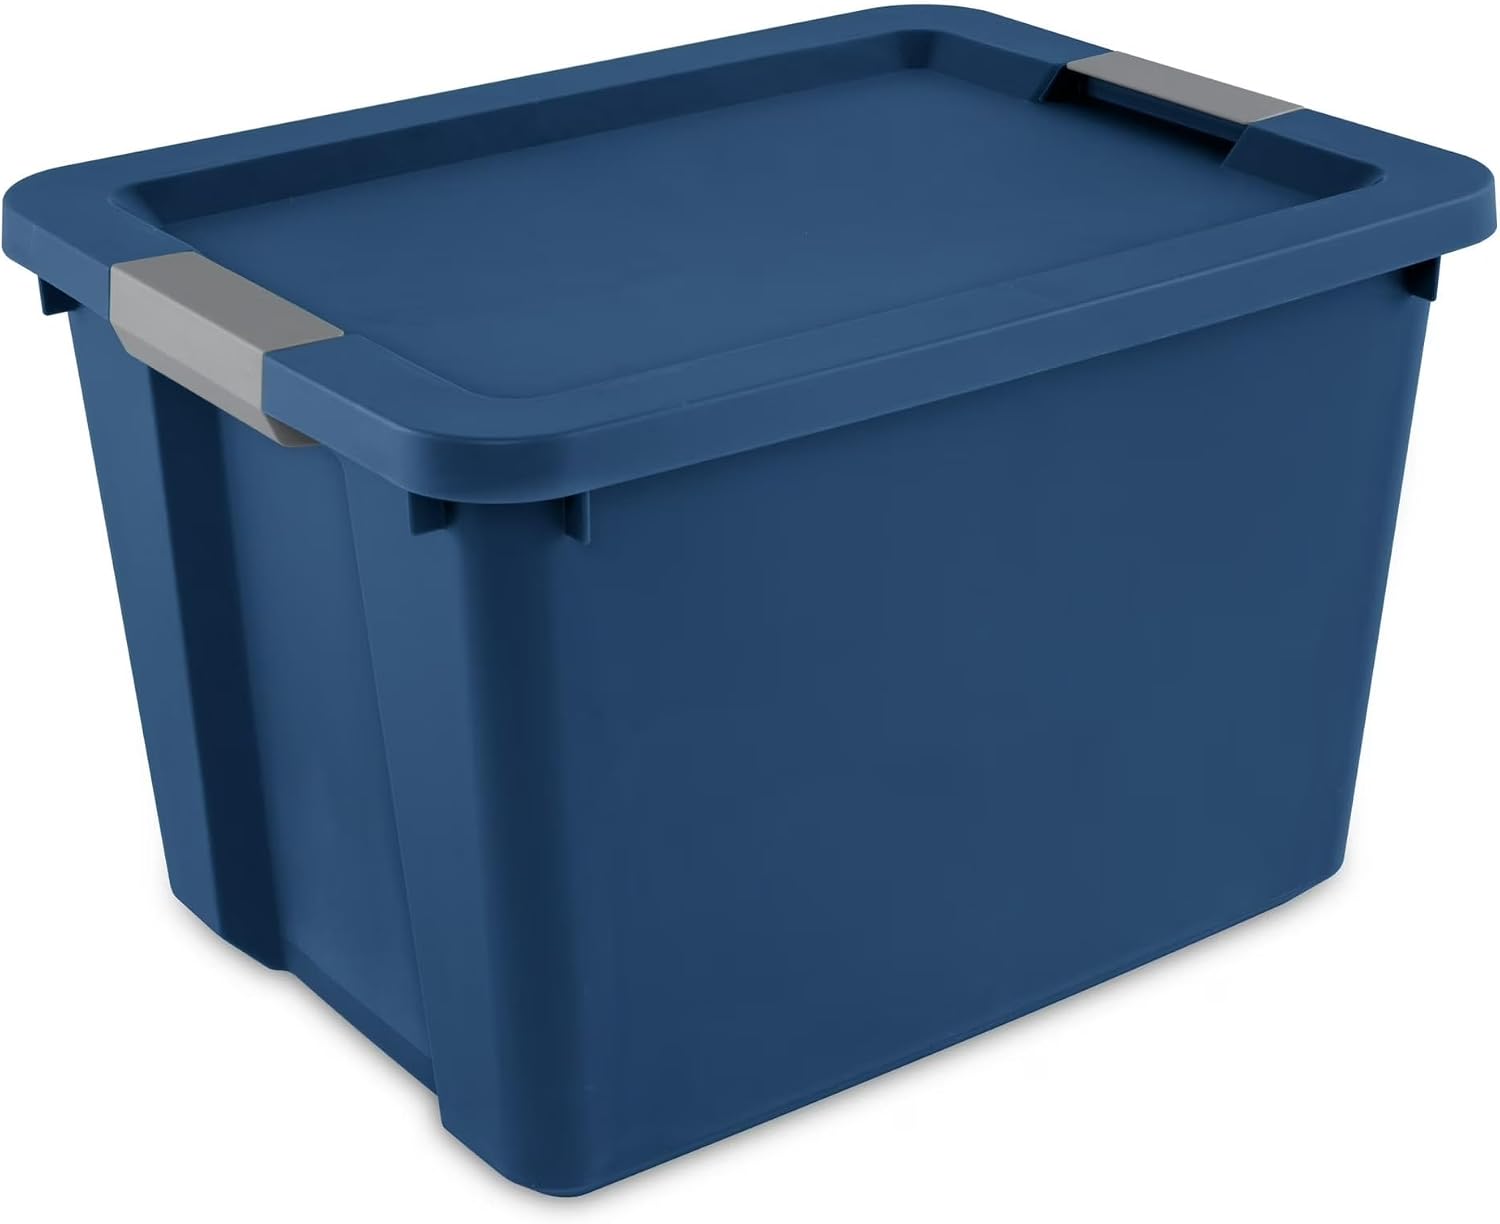
The bins: 20-gallon large plastic storage box with integrated handle, blue
 Visit on Amazon →
Loose stuff on a platform is how you end up with a rake on your windshield. Everything that goes up should go up in a bin, and a 20-gallon box with an integrated handle is the right size for this job: big enough for a season of decorations or a set of camping gear, small enough that one person can pull it down from a platform without a fight. The handle is the part that matters, because a bin you cannot grip is a bin you will not use, and a bin you do not use ends up on the floor.
I like these for the top shelf specifically. They stack, they nest when empty, and a blue bin reads as seasonal at a glance, which means your holiday lights stay in one color and your camping gear stays in another. Write on the side with a marker, not the lid, because lids go missing and a labeled bin is the only reason overhead storage stays organized after month two.
Flaws but not dealbreakers: Plastic bins are not load-rated shelving. Do not stack them four high and expect the bottom one to hold. Two high on a platform, three if the contents are light.
Anyone who is tired of cardboard boxes collapsing in a humid garage should start here.
The actual install workflow
Step one: clear the zone. Empty the floor space under the rack, park the car outside, and take everything off the walls near the install. You need a clean ladder position, and you need to be able to see the ceiling without ducking around bike hooks.
Step two: find the joists. Stud finder first, then a finish nail to confirm. Mark the center of every joist you plan to use with a pencil line long enough to see from the floor. Do not trust a mark that is shorter than your thumb.
Step three: decide orientation. Rack across the joists, never parallel to them. If the platform runs the same direction as the joists, every bracket lands on one or two boards and your load concentrates in the worst possible place.
Step four: build a backer if you have trusses. Two 2x6s or 2x8s across four trusses, structural screws, and then the rack bolts to the backer. This is the step people skip, and it is the step that decides whether the rack is still up in five years.
Step five: check the door. Raise the garage door all the way by hand and look at where the panels and tracks end up. Mark that line on the ceiling. Your platform lives above it with clearance to spare.
Step six: mount the hardware. Lag bolts or structural screws into solid lumber. Not drywall anchors. Not toggle bolts into drywall. If you take one thing from this article, take that one.
Step seven: load light, then check. Put a couple of light bins on it for a week. Then check it with a level. If anything has moved, you have a mounting problem, and you fix it before you add weight.
Step eight: check it again at 30 days. This is the sag check. A rack that is still level after a month of real load will stay level for years.
How to load it so it stays level
Heavy in the middle, over the joists, and low. Weight at the edges of a platform turns the whole thing into a lever, and levers pull bolts.
Put the stuff you use weekly at the front edge, where you can reach it. Seasonal stuff goes to the back. That is the whole system, and it works because it matches how often you actually touch things. The stuff you use twice a year should never be in the easy spot.
If your garage floor has pitch, it does not matter here. Ceiling racks do not care about the floor slope, which is one of the reasons I like them for older Columbus garages where nothing is square and nothing is level.
Where overhead storage fails
Drywall anchors sold for ceiling storage. That is the number one killer, and it is not close.
Weight ratings printed on the box instead of the bracket. A 325-pound rating means nothing if the bracket bends at 200.
Racks mounted parallel to the joists. Two boards carrying what four should carry.
Platforms installed inside the door's travel. You find out the first time somebody hits the opener from the driveway.
Systems that need proprietary accessories for every new thing you want to hang. A garage system you cannot reconfigure is just expensive shelving.
And the "organize your garage in a weekend" promise. It takes two weekends minimum: one to mount and load, one to fix what you got wrong the first time. Plan for it and you will not be disappointed.
What this costs
The honest math is labor, not gear. Two weekends, one ladder, one helper, one stud finder, and the hardware that comes in the box plus whatever bolts you upgrade to. If you are paying somebody to install it, the labor is the same whether the rack is static or motorized, because the ceiling work does not change.
Both of the items above have prices that move with the season, so check current Amazon price on each listing before you commit, and check the current Amazon price again if you are buying two racks for a long garage. What you are really buying with the motorized unit is not having to own the ladder part of the job.
Everything else is identical either way: joists, bolts, clearance, and a load plan that keeps the heavy stuff over solid wood.
The bottom line
Find the stud, use the right bolt, keep the platform out of the door's path, and load it heavy in the middle. That is the entire job. Do those four things and the rack will outlive the garage. Skip one and you will hear about it at two in the morning.
That is the work. Your ceiling has been holding empty space for years. Let it hold something.