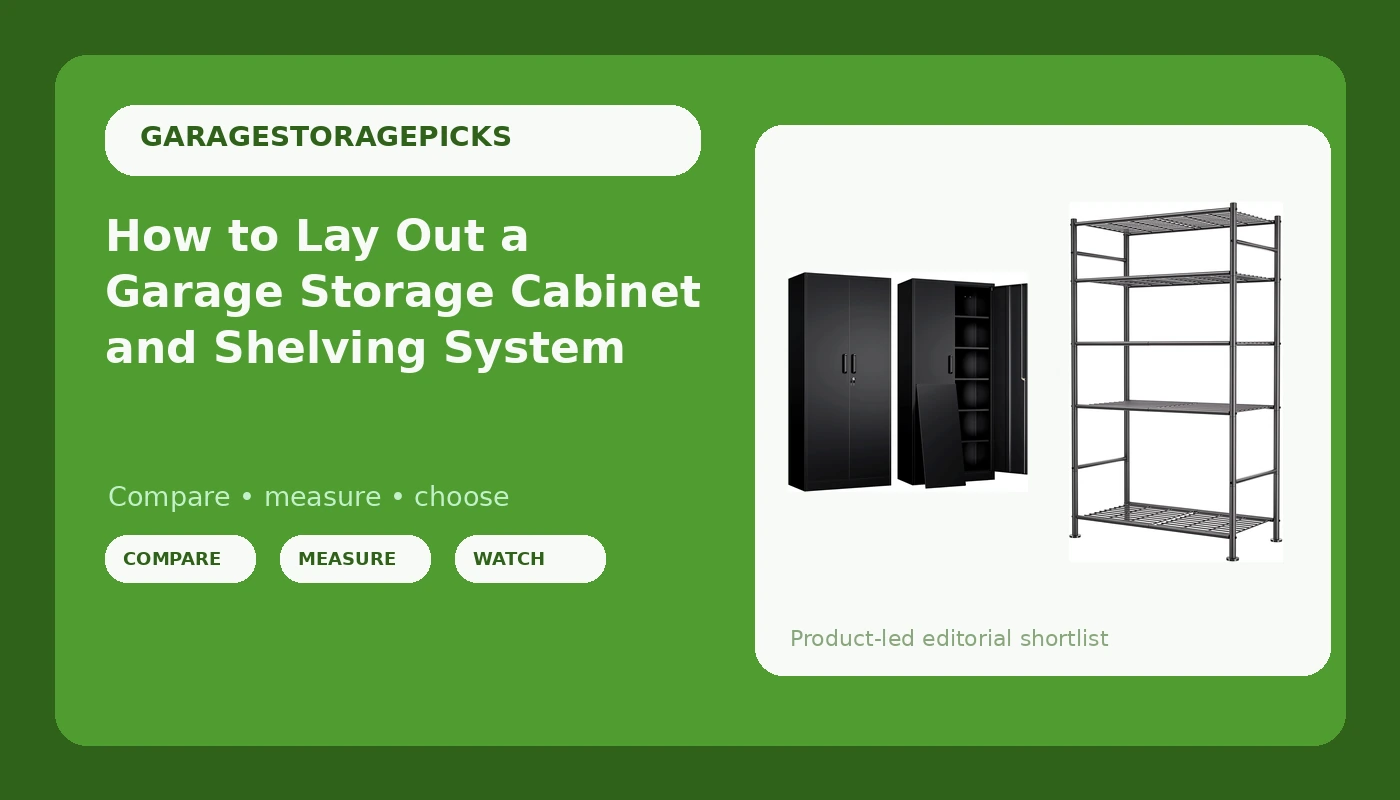
Most garages get organized twice. The first time you stack bins against the wall, hang a shovel on a nail, and call it done. The second time, usually about a year later, you admit the stack was never a system and start over with an actual garage storage cabinet and shelving plan.
I have built and finished garages around Columbus for twenty years, and the second attempt almost always works. Not because people spend more money. It works because they measured the wall, found the studs, and decided what went where before they bought anything.
That is the order that matters, and it is the order this guide follows. Measure, plan, anchor, load. Do those four things in sequence and the setup will still be square when you sell the house.
Why you should trust me
I am a general contractor, not a lifestyle blogger. I have organized more garages than most people have parked in, including my own, which started as a plywood wall system I built out of cheap pine and stubbornness. It sagged. I replaced it with real steel and real anchors and it has not moved since.
Every garage I touch gets the same treatment. I find the studs by sound and by finder, I check the floor pitch with a four-foot level, and I refuse to hang anything heavy on drywall anchors. I also tell clients the truth about weight ratings, which is that the number on the box means nothing if the bracket and the fastener do not match it.
How I picked and how I tested
Let me be straight about what this article is. I did not bolt these two units to my own wall for this piece, and I am not going to pretend a photo of a shelf holding a box of Christmas lights proves anything. What I can give you is the checklist I run on every garage install, and the reasoning behind each item on it.
Here is the checklist. First, what is it made of? Steel beats plastic, always, and gauge matters more than the marketing. Second, does the mounting hardware match the weight rating? The box lies. The bracket does not. Third, can I reconfigure it later? A system you cannot move is just expensive shelving. Fourth, would I trust it with my own tools? That is the real test, and it is the one that kills most of the cheap stuff.
I also think about the room itself. A garage floor has pitch, usually toward the door, because it has to drain. That pitch is the reason so many garage cabinets end up with a two-inch gap under one corner, and it is the reason adjustable feet are worth more than they look on a spec sheet.
Both of the units below pass that checklist. They are different tools for different jobs, and you probably want one of each rather than two of either.
The two pieces this layout is built around
One closed unit and one open unit. That is the whole system for most two-car garages. The cabinet hides what you do not want to look at or do not want covered in sawdust. The shelving holds what you need to grab with one hand while the other hand is holding a leaf blower.
The lockable pick: Yizosh Metal Garage Storage Cabinet with 2 Doors and 5 Adjustable Shelves - 71" Steel Lockable File Cabinet,Locking Tool Cabinets for Office,Home,Garage,Gym,School (Black)
 Visit on Amazon →
This is the piece that does the job open shelving cannot. Two doors mean your circular saw, your paint cans, and your solvents are not wearing a coat of drywall dust six months from now. The lock matters more than people admit, mostly for chemicals and anything sharp if you have kids in the house, and partly because a locked cabinet is the one place in the garage where things stay where you put them.
Five adjustable shelves is the part I care about most as a contractor. Adjustable means the cabinet can be re-purposed when your storage needs change, which they will. A shelf spacing that fits a case of oil today can be re-set for a miter saw tomorrow. That flexibility is worth more than any single weight number printed on a box.
At 71 inches tall it wants a wall with real height above the floor, so measure your ceiling before you commit, and keep it clear of the garage door tracks and the opener rail. Because it is tall and steel, it should be fastened to a stud, not just set on the floor. A tall cabinet that tips is a bad day in a garage full of tools.
Flaws but not dealbreakers: A cabinet this tall is awkward to move alone. Have someone help you stand it up, and set it before you load a single shelf.
Anyone who wants their tools, chemicals, and paint behind a door instead of on display should start here.
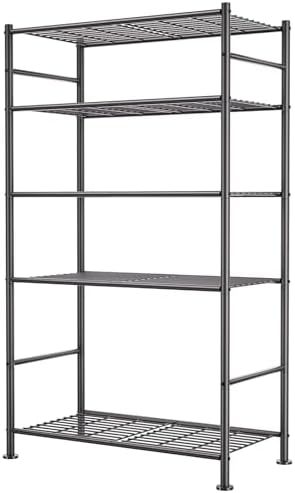
The open shelving pick: BolDuck 5 Tier Shelf Organizer Rack, Metal Shelving Unit with Adjustable Leveling Feet, Space-Saving Storage Shelves for Garage Closet Laundry Bathroom Kitchen Pantry, 33.07”Wx12.6”Dx72.04”H,Black
 Visit on Amazon →
The adjustable leveling feet are the reason this one is in the guide. Garage slabs have pitch, and a five tier rack that rocks on a sloped floor is a rack that walks itself into the wall every time you pull something off the top. Feet you can dial in solve that without a stack of shims and a lot of swearing.
The footprint is the other selling point. At a little over 33 inches wide and about 12.6 inches deep, it hugs the wall instead of eating floor space, which matters when a car still has to park in there. Five tiers of open shelving is where your weekly stuff lives: the blower, the trimmer, the oil, the extension cords, the box of rags. Open means you can see it and reach it, and that is the entire point.
Because it is tall and narrow, treat it like a bookcase and secure it to the wall. It is not a workbench and it is not a place for a bench grinder. It is a vertical holding rack, and it does that job well.
Flaws but not dealbreakers: Open shelving collects dust and sawdust. If that bothers you, the cabinet above is your answer, not this one.
Anyone who needs a lot of accessible storage in a narrow strip of wall should grab this first.
The layout workflow
Now the actual sequence. This is how I lay out a garage wall, and it works whether you are starting from empty or fixing a mess you made two years ago.
Step one: Empty the wall and read the floor. Pull everything off the wall you plan to use. Then put a four-foot level on the floor along that wall and see which way the slab runs. Almost every garage slab pitches toward the door. You are not fixing that. You are planning for it, which means leveling feet on the shelving and shims under the cabinet.
Step two: Find the studs and mark them. This is the step everybody skips, and it is the one that decides whether your system holds. Studs in a garage are usually 16 inches on center, sometimes 24, and they are sometimes hidden behind a layer of drywall you did not expect. Mark each one with a strip of painter's tape running floor to ceiling. Now you can see your anchor points from across the room.
Step three: Decide what goes behind a door. Walk your stuff and sort it into two piles. Anything dusty, anything chemical, anything sharp, anything you use less than once a month goes in the closed cabinet. Anything you grab weekly goes on open shelving at eye level. This is the whole system, and it is the reason you sort before you place anything.
Step four: Set the cabinet first. The tall steel cabinet is the less forgiving piece. It needs clearance for the doors to swing, it needs a stud behind it, and it wants to be near the corner so it does not eat usable wall. Once it is set and anchored, you build the shelving around it, and you will find the shelving is much easier to fit because it is thinner and more flexible.
Step five: Anchor everything to wood. Not to drywall. Not to a plastic toggle rated for 50 pounds on a shelf that will hold far more than that. Structural screws into studs, or lag screws if the load is serious. If you cannot hit a stud where you need one, add a horizontal backer board screwed across three studs and mount to that. The backer is ugly for about a day and then you forget it exists.
Step six: Level against the pitch, not against the wall. Set your level on the shelf surface, not on the floor. Shim the cabinet, dial in the feet on the rack. A cabinet that looks level but sits on a sloped slab will rack out of square over time and the doors will start rubbing.
Step seven: Load heavy low. Tools, paint, and anything with real mass go on the bottom shelves. Seasonal and light goes up top. This is not just about the shelf rating. It is about what happens when you pull a heavy box off a top shelf while standing on a sloped floor in the dark.
Step eight: Leave yourself room to reconfigure. Do not fill every square inch on day one. Leave one open shelf and a couple of inches of wall. The bike collection grows, the tool set grows, and the guy who left himself slack is the guy who does not have to start over in two years.
What this all costs
I am not going to quote you prices that change next week. Check current Amazon price on both units and do the math yourself, because the comparison that matters is not between these two products. It is between these two products and the plywood-and-anger wall you would build instead.
Here is the honest framing. The open shelving unit is the cheaper of the two and it does more of the visible work. The cabinet costs more because it has doors, a lock, and adjustable shelves, and that is a real upgrade, not a cosmetic one. Buy the shelving first if your budget is tight. Buy the cabinet first if your problem is dust, chemicals, or a tool collection that keeps walking off.
The cost per day over the years you will own these is small. The cost of doing it twice, which is what happens when you skip the stud finder, is a weekend you do not get back.
Mistakes that cost you a weekend
Drywall anchors on anything above waist height. This is the single most common failure I see. The anchor holds on install day and lets go on the day you actually load the shelf. Drywall is not a structural material.
Hanging storage over the garage door tracks. Measure the door travel before you place a tall cabinet or a rack. A 71 inch unit under a door that swings up into it is a collision waiting to happen.
Ignoring the pitch. If you skip step one, your cabinet leans and your rack rocks. Both problems are solved by leveling feet and shims, and both are miserable to fix after everything is loaded.
Filling the top shelf with paint. Heavy up top is how shelves sag and racks tip. Weight goes low, always.
Buying a system that needs proprietary parts. If every hook and basket has to come from the same brand, you are locked in. Steel shelving and a steel cabinet take any bin, any hook, and any bungee you already own.
The bottom line
Two units, one wall, one afternoon of measuring and anchoring, and then a second afternoon of actually loading it. That is the realistic timeline, and anyone promising you a one-day garage transformation is selling you something.
Do it in order. Measure the wall, find the studs, put the closed cabinet where the dusty and dangerous stuff lives, put the open shelving where your hands go every week, and anchor both to wood. The setup will outlast the garage, and you will not be doing this a third time.