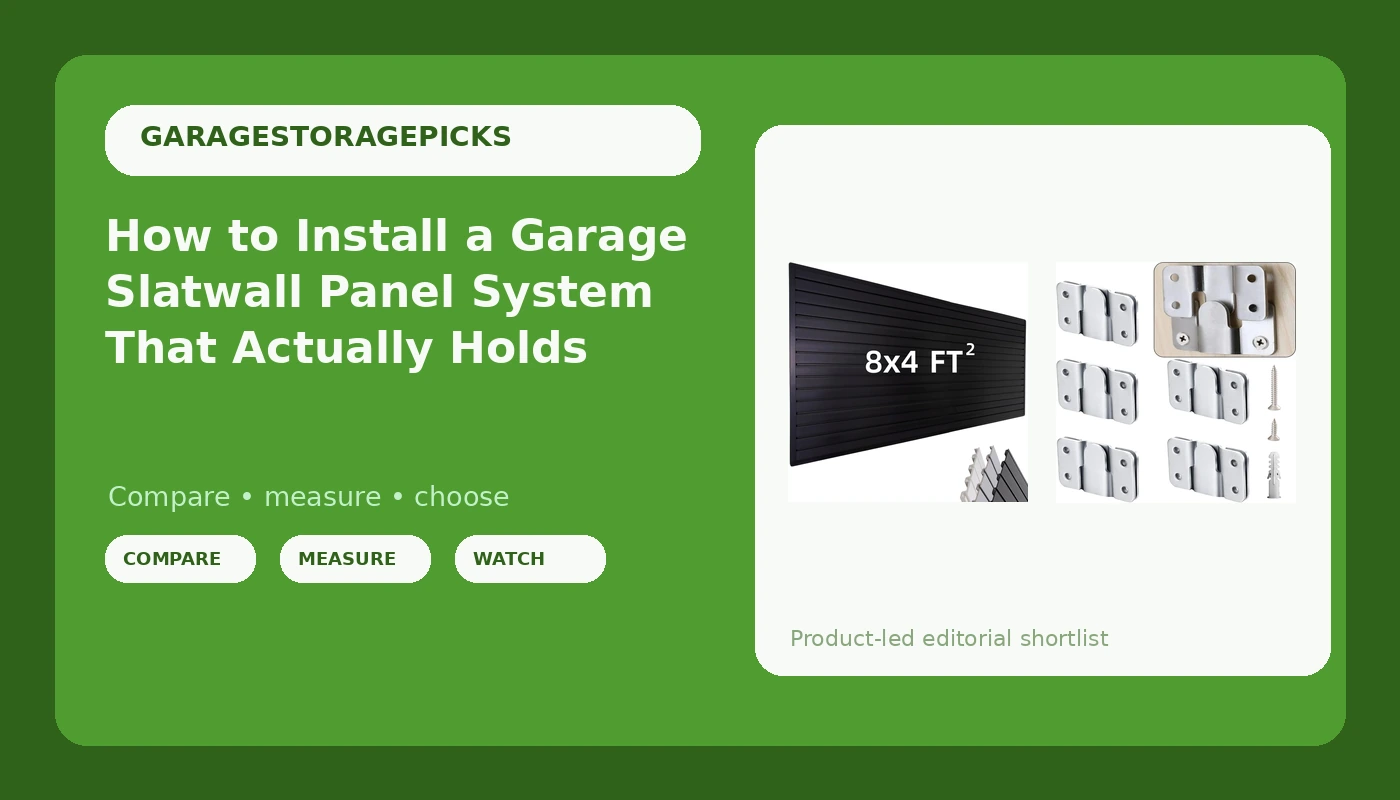
Garage slatwall panel installation fails for one boring reason: the panel went up on drywall instead of into studs. The slat board is almost never the weak point. The fasteners, the backer, and the framing behind it are.
I have hung wall systems in garages for 20 years, everything from plywood-and-anger specials to steel track, and the pattern never changes. A panel rated for 100 pounds per hook becomes a panel rated for 15 pounds the moment somebody drives a screw into hollow wall and calls it finished.
This guide covers the whole job: finding studs, laying out panels so the seams land somewhere you can live with, cutting around outlets, and matching hardware to load. It also covers the two pieces I would start with, a PVC slat panel and a small stainless bracket kit that fixes the one job slatwall is genuinely bad at, which is hanging something flat.
Why you should trust me
I am Pete, a general contractor in Columbus, Ohio, and I have spent 20 years building and fixing garage storage. I have torn out more sagging shelf systems than I have installed new ones, and every one of those failures came down to the same two questions: what is the fastener biting into, and does the hardware match the load.
Here is what I will not do. I will not tell you I hung 250 pounds on this exact panel and watched it for 30 days, because I did not. What I will tell you is how the load path works, what the specs on these two products actually mean, and what to verify before you drill. If a number matters, check it yourself against the listing before you buy.
Measure the wall before you spend a dollar
Slatwall comes in standard sheets, and the common size is 8 feet by 4 feet. That is a big rectangle, and it does not care about your outlets, your window, or the fact that your garage wall is 11 feet 6 inches long. Do the math on paper first.
Walk the wall with a stud finder and mark every stud with painter's tape. Most garages are framed at 16 inches on center, but plenty of builders switch to 24 inches on center for a garage wall, and some use a mix. Write the spacing down. It decides how many fasteners you get per panel and whether you need a backer.
Find studs by sound too. Tap along the wall and listen for the dull thud that means solid wood behind the drywall. A stud finder can be fooled by a thick texture coat or a metal corner bead. Your ears rarely are.
Next, note the obstructions. Count outlets, switches, hose bibs, and any gas line. Each one is a cutout, and each cutout needs clearance from the slat pattern so a hook can still slide past it. Then check the floor. Garage slabs pitch toward the door, and an 8-foot panel does not bend to follow it. If you have a half inch of drop across the run, plan a shim or accept a gap at the bottom and cover it with trim.
Last, measure from the floor to the ceiling. If you have 8 feet, one panel covers floor to ceiling and you are done. If you have 9 or 10 feet, you are stacking panels, and the seam placement matters more than people think.
How slatwall carries weight and where it quits
A slat panel is a hanging surface, not a structure. The hooks engage the grooves, and the grooves transfer that load sideways into the panel, which transfers it into whatever the panel is screwed to. Break that chain anywhere and the rating on the box means nothing.
Three things follow from that.
First, fasteners must reach framing. Into a stud, into a furring strip, or into a plywood backer that is itself screwed into studs. Never into drywall alone, and never with the plastic anchors that come in a lot of wall hardware kits.
Second, keep heavy loads low. A tool chest or a stack of brake rotors wants to hang near the bottom slats where the panel has the shortest lever arm and the most screws below it. Light stuff, extension cords, brooms, bike helmets, goes up high.
Third, the panel needs support along its full height, not just at the top. Screw the field, not the border. A panel fastened only around the perimeter will bow outward in the middle the first time you load a shelf bracket in the center.
The panel and the hardware I would start with
Two products cover this job. One is the surface you hang from, and one solves the flat, flush, no-hook problem that slatwall owners run into about a week after installation.
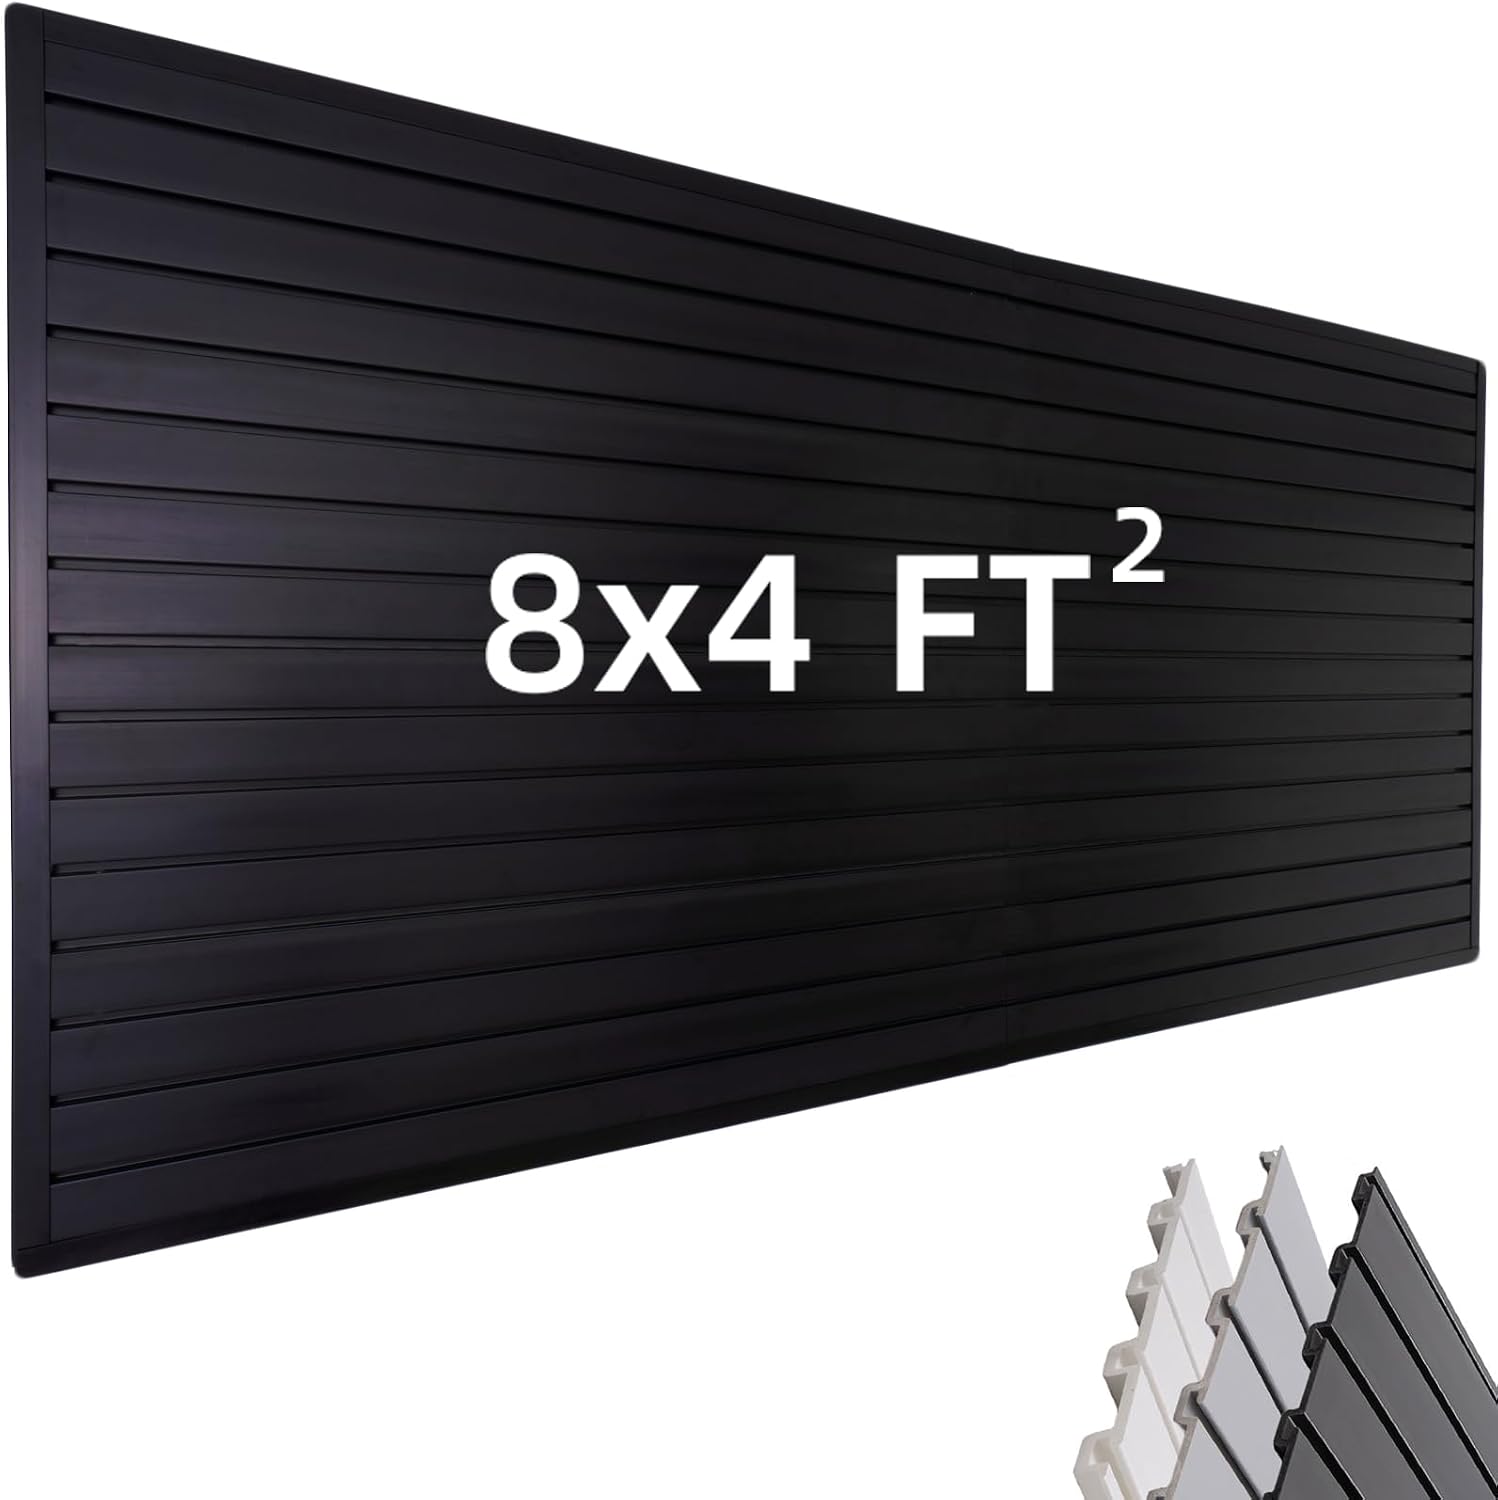
The panel: FRAYSCENT Slat Wall Paneling Garage Wall Organizer, Slatwall Panels Garage Tool Organizer Wall Mount Garage Slat Wall Storage Systems, Slat Board PVC Wall Panels Garage Storage (Black, 8ftx4ft)
 Visit on Amazon →
This is a PVC slat board in black, 8 feet by 4 feet, which is the size I would pick for a single-wall garage run. PVC has two advantages over MDF slatwall. It does not swell when your garage gets humid, and it does not care if a sprinkler line drips on it in July. It also has one disadvantage you need to plan around: it flexes. MDF and steel hold their shape better across a span. PVC needs fasteners closer together and wants solid support behind it.
Black is the right call for a working garage. It hides scuffs, and it makes hooks and tools read clearly against the wall. If your garage is dark, budget for a couple of LED shop lights while you are at it, because black slatwall in a dim garage is a cave.
The thing to verify on the listing before you order is the slat spacing and whether your existing hooks fit that groove pattern. Slatwall is not universal. A hook that fits one panel will not fit another, and proprietary hook systems are the fastest way to turn a cheap panel into an expensive one.
Flaws but not dealbreakers: PVC wants more screws than you think. If your studs are 24 inches on center, add horizontal furring strips at 16 inches on center over the studs and hang the panel on the furring. That gives you a screw every 16 inches in both directions, which is what the panel wants.
Anyone finishing a two-car garage wall who wants a surface they can reconfigure every season should start here.
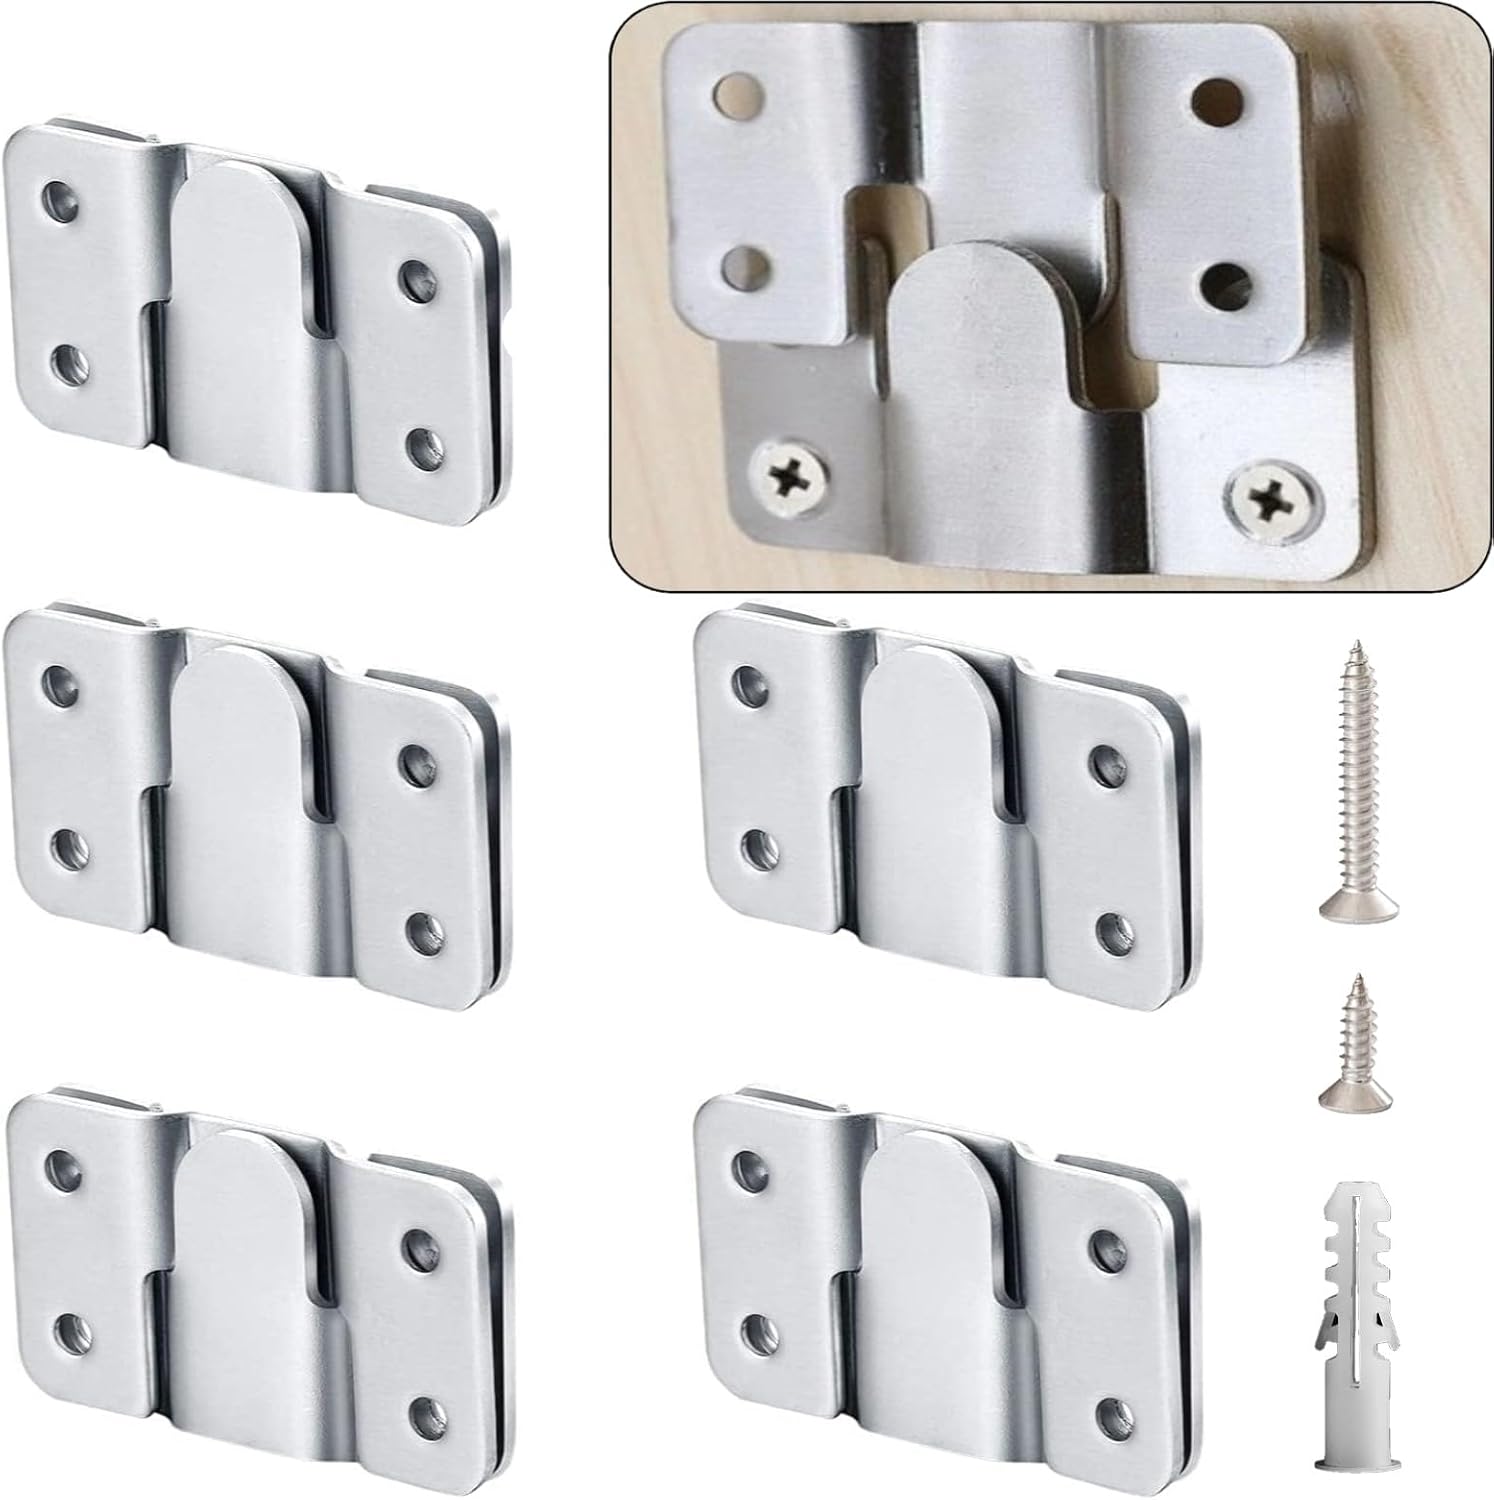
The hardware: Flush Mount Bracket with Screws 6 Sets Hanging Buckle Kit, Interlocking Heavy Duty Photo Frame Hook, Furniture Connector for 100lb Picture Hangers Art Gallery Wall Mount Hardware, Stainless Steel (6)
 Visit on Amazon →
This is the piece that fixes slatwall's blind spot. Slatwall is great at holding things that stick out: hooks, baskets, shelf brackets, bikes. It is terrible at holding something flat against the wall. Hang a framed print, a whiteboard, a shop sign, or a piece of plywood backing with a slat hook and it stands off the wall on a two-inch arm, which looks like a mistake.
These are stainless steel interlocking brackets, sold in sets of six, rated for 100 pounds. One half screws to the wall or to a backer, the other half screws to the back of whatever you are hanging, and the two halves drop together and lock. The result sits flush, which is the whole point.
The honest caveat is the same one that applies to every bracket I have ever installed: 100 pounds is the bracket's number, not your wall's number. Two of these into a stud will hold a heavy mirror. Two of these into drywall with the included screws will hold a poster and nothing else. The bracket is the strong part. The wall is the variable.
Flaws but not dealbreakers: You need to be precise. Both halves have to line up within a small margin, so measure twice and mark the wall and the frame together before you drive screws. Stainless is also harder than mild steel, so use a fresh bit and do not overtighten into soft wood.
Anyone who wants a flat, clean look for framed art, a whiteboard, or a shop sign on a garage wall should keep a set of these in the drawer.
How to install garage slatwall panels step by step
Step one: lay out the run. Snap a chalk line at the height you want the top of the panel. Keep the top of the panel at least a few inches below the ceiling so you have room to get a drill in there later.
Step two: mark every stud on the wall. Transfer your tape marks to a single line of pencil marks at a consistent height so you can read them from the floor.
Step three: decide on a backer. If your studs are 16 inches on center and plumb, you can fasten straight through the panel into studs. If they are 24 inches on center, or if the wall is out of plumb, run horizontal furring strips at 16 inches on center first. This is also the move when you want to be able to remove the panel later without a wall full of holes.
Step four: cut for obstructions. Measure outlet boxes to the nearest edge, transfer to the back of the panel, and cut with a jigsaw. Cut slightly oversized and cover the gap with an outlet trim ring. Nobody notices a quarter inch of trim. Everybody notices a ragged hole.
Step five: dry fit before you fasten. Hold the panel in place, check the top line, check the bottom gap, and confirm every hook you own can slide through the slats without hitting a cutout.
Step six: fasten the field. Start at the center and work out, so the panel does not trap a wave. Drive screws through the slat valleys, not the slat faces, and hit every stud. Counter sink slightly so screw heads do not block a hook.
Step seven: stack the second row if you need it. Overlap the seam behind a slat if the panel design allows it, and stagger vertical seams between rows so they do not line up into one long crack.
Step eight: trim the edges. End caps and top trim are not decoration. They keep the cut edge of the panel from catching on things and they hide the gap between the panel and the wall.
Step nine: load test small. Hang light items first, wait a day, then add weight gradually. If the panel is going to pull off the wall, you want it to happen with a broom on it, not a tool chest.
Hanging things without wrecking the panel
Think in three zones. Below waist height, hang heavy and rarely used: tool chests, floor jack parts, a loaded shelf. Between waist and eye level, hang what you touch weekly: the drill, the impact driver, the tape measure, the shop vac hose. Above eye level, hang light and seasonal: extension cords, holiday bins, bike helmets, pool noodles.
For anything flat, use the interlocking brackets instead of a hook. A framed poster, a whiteboard for the kids, a printed shop sign, and a plywood backer all sit flush and stay put.
For anything on a shelf bracket, put the bracket arms on two separate slats and spread them as wide as the shelf allows. A shelf carried on two hooks eight inches apart will sag in the middle. The same shelf on hooks 30 inches apart will not.
Mistakes that cost you the load rating
Drywall anchors on a garage wall. This is the number one killer, and it is sold in the same aisle as the panels.
Fastening only the perimeter. A panel screwed around its border and nowhere else will bow out in the middle under load.
Ignoring the 24-inch stud spacing. You do not get to skip the backer just because it adds an afternoon.
Hanging the heaviest thing on the top slat. The higher the load, the more leverage it has to peel the panel off the wall.
Mixing hook brands. A hook that half-fits will pop out under load. Buy hooks that match the groove pattern of your panel and buy them all at once.
Loading it the day you install it. Give the fasteners a day, then add weight in stages.
What this all costs
The panel is the biggest line item here, and it is the one you buy per wall, so measure twice. The bracket kit is a rounding error next to the panel, which is why it makes sense to grab a set even if you only have one frame to hang today.
The rest of the budget is hooks, baskets, shelf brackets, and screws. That is where slatwall projects get expensive, because the accessories are where the money goes and the panels are just the platform. Buy hooks for the tools you actually own, not for the garage you imagine having.
Divide any of it over five years and the daily number is small. The part that is not small is the labor, which is yours. One wall, done right, with the fasteners in studs and a backer where the studs are wide, is a two-weekend job, and the second weekend is mostly hanging stuff.
Do the measuring first. Find the studs. Fasten the field. Then hang your tools where you can reach them, and leave the top row for the stuff you touch twice a year. That is the whole system, and it will outlast the garage.