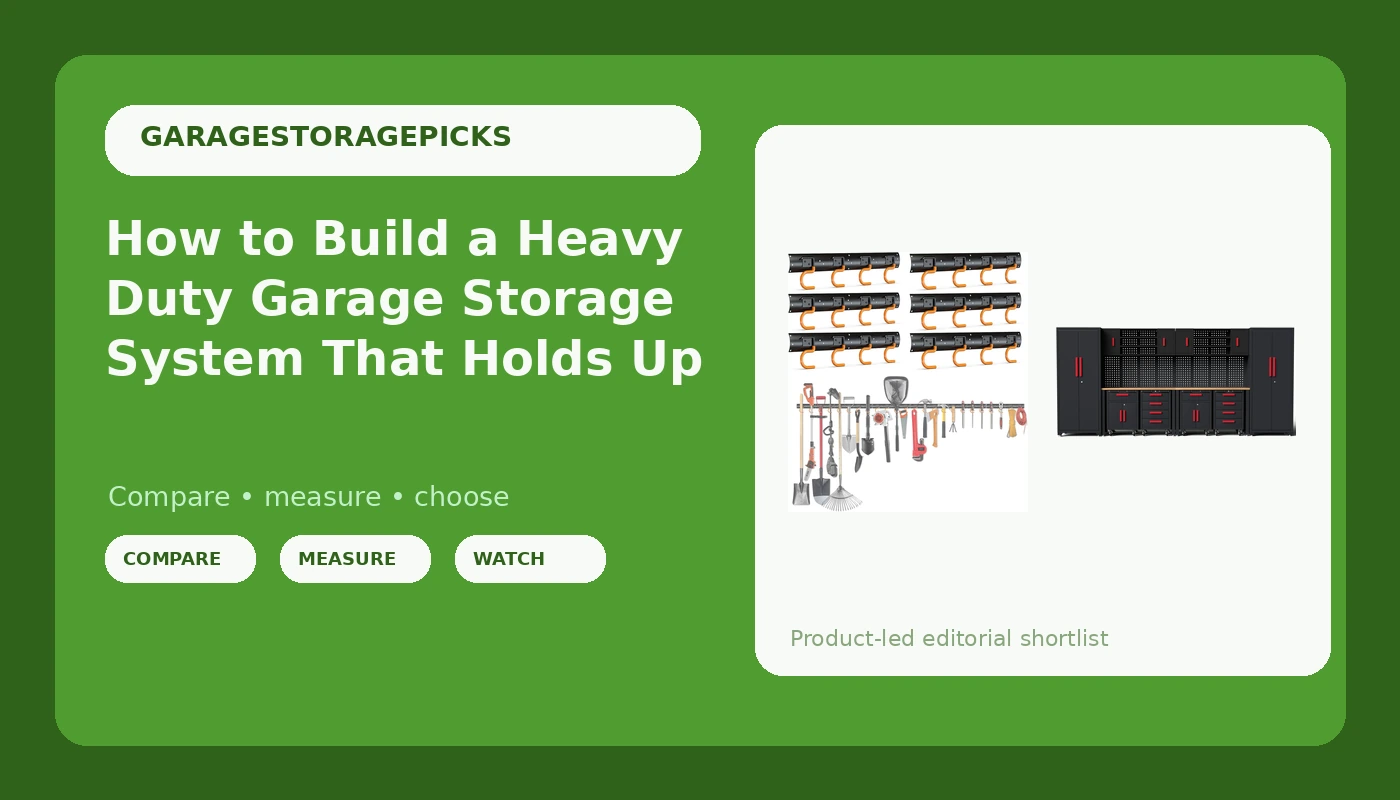
Most garage storage fails at the wall, not at the shelf. You buy a heavy duty garage storage system, you hang it on drywall with the anchors that came in the box, and eighteen months later the whole run is pulling away from the studs with a snow shovel still hooked to it.
I have been a general contractor in Columbus for twenty years. I have organized more garages than most people have parked in. I built my first wall system out of plywood and frustration, watched it bow under a loaded tool chest, and then replaced it with steel and never looked back.
Here is the part nobody selling you a system says out loud. The system matters less than what is behind it. A cheap bracket lagged into a stud will outlive a beautiful bracket held by a drywall anchor, every single time.
So this is not a shopping guide with a ranking at the end. It is the order of operations: how to read your wall, how to build the two layers a garage actually needs, and how to load it so nothing sags by spring.
Why you should trust me
Twenty years of framing, finishing, and fixing garages in central Ohio. I have hung cabinets in rentals where the "studs" turned out to be a half inch of paneling over furring strips, and I have hung them in a 1920s garage where the framing was true dimensional lumber you could park a truck on. Both jobs taught the same lesson.
My rules are short. Find the stud. Use hardware that matches the load. Never trust a rating printed on a box instead of on a bracket. I will not recommend a ceiling rack unless I can verify the joists. And I will not promise you a garage in one weekend, because it takes two, and the second one is mostly sorting.
How I picked and how I tested
I judge every wall system on four questions.
What are the brackets actually made of? Steel beats plastic, always, and it is not close.
Does the mounting hardware match the weight rating? The box lies. The bracket does not.
Can I reconfigure it in a year when the bike collection grows? A system you cannot move is just expensive shelving.
Would I trust it with my own tools? That is the only test that counts. A shelf holding a box of Christmas lights proves nothing. A loaded tool chest left on it for thirty days is the real exam.
The two pieces below are not a matched set from one brand. They are two layers, and the layers do different jobs. One gets long handled tools off the floor. The other gives you closed storage and a bench, which is what most garages are missing.
Layer one: the wall
The wall is where the daily stuff lives. Brooms, rakes, the hose, the shovel you use in January. Anything you touch weekly belongs at eye level and off the floor, because floor space is the most expensive real estate in a garage.
Install this layer first. It is fast, it is forgiving, and it teaches you where your studs actually are before you commit to anything heavy.
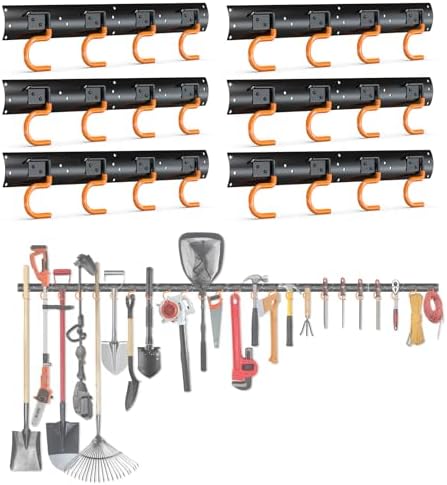
The wall layer: 3-H 6×16" All Metal Garden Tool Organizer, Garage Tool Organizer, Broom Holder Wall Mount for Garage, Shed, Garden, Basement Hanging and Organizing Rake, Mop, Shovel, Hose
 Visit on Amazon →
The metal construction is the whole point. Plastic broom holders are the reason people decide wall organizers do not work. They flex, the clips lose their grip, and the rake ends up on the floor next to the pile it was supposed to prevent.
This one is all metal, and it is built for a run of long handled tools rather than one lonely rake. Rakes, mops, shovels, the hose. That is the clutter that makes a garage look messy even when everything else in it is fine.
Two install notes from someone who has fixed a lot of these. First, hit studs. If your stud spacing will not let you catch two of them, run a horizontal backer board across three studs and mount to the backer. Second, set the height before you drill. Hang your longest tool first and let that decide the line. Mount it high, buy a longer shovel next spring, and you get to drill new holes.
Flaws but not dealbreakers: A wall organizer holds what hangs. It does not hold a tool chest, a set of tires, or anything you would describe as heavy. That is what layer two is for.
Anyone with a wall of long handled tools and nowhere to put them should start here. It is the cheapest square footage you will ever gain.
Layer two: the base
Cabinets beat open shelves for anything you do not want covered in sawdust. That is not a preference, it is what happens. Open shelving in a garage collects dust, pollen, and whatever the leaf blower throws.
The other thing a cabinet run gives you is a bench. Most garages have no horizontal surface that is not already full. A bench fixes that, and it changes how you use the room more than any hook ever will.
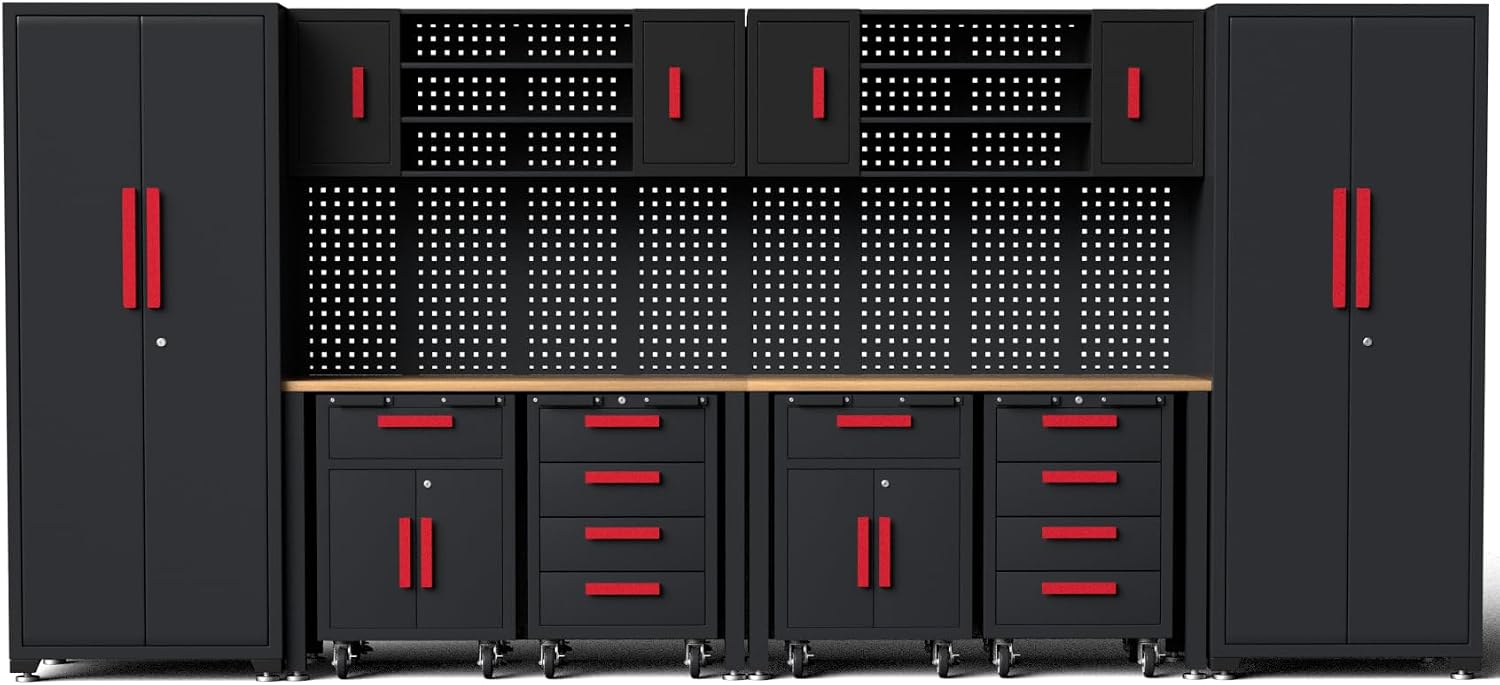
The base layer: 12-PC Heavy Duty Steel Garage Storage Cabinet System & Bench,Red
 Visit on Amazon →
This is the heavy piece. A twelve piece steel cabinet and bench system, which means you are building a wall, not hanging a shelf. Steel construction matters here for the same reason it matters on the wall: painted particleboard swells the first time a garage gets humid, and central Ohio garages get humid.
Treat the install like a cabinet install, because that is what it is. Anchor the tall units into studs at the top and the bottom. Level the run before you load a single drawer. Skip the anchoring and a tall cabinet tips the first time someone pulls a heavy drawer with the door open, which is a real injury waiting to happen.
Flaws but not dealbreakers: A cabinet and bench run takes up floor space, and it takes an afternoon to assemble properly. If what you want is everything off the floor and nothing on it, this is not that product.
Anyone who wants closed storage, a work surface, and a garage that stops looking like a pile of boxes should build around this.
The actual install workflow
Now the order of operations. This works whether you bought one organizer or a full cabinet run. The sequence is what saves you from doing the job twice.
Step one: Find the studs. Actually find them. Run a stud finder across the wall and mark every stud with painter's tape. Then verify with a thin finish nail before you drill anything structural. Stud finders lie near plumbing, near double top plates, and near anything magnetic. The nail does not. This is the most important tool in garage storage and the one everybody skips.
Step two: Map the wall before you mount anything. Stand back and split the wall into three zones. Weekly tools at eye level, where you can grab them without bending. Seasonal and bulky items higher, where you need a step. Heavy closed storage at the base, where the weight belongs. Mount by feel instead of by zone and you will redo it.
Step three: Install the wall layer first. Hang the organizer into the studs you marked. Use the longest fasteners that will not poke through the outside sheathing, and catch at least two studs. If the spacing does not cooperate, screw a 1x4 or 2x4 backer across three studs and mount to the backer. That is not a hack. That is how it should be done.
Step four: Set the base layer and check the pitch. Garage floors slope toward the door so water runs out. That slope is why your cabinet doors will not line up if you set the run down and walk away. Level it side to side and front to back, then shim under the low corners. Shim stock is cheap. Crooked doors are forever.
Step five: Anchor the tall units. Top and bottom, into studs. A cabinet that is not anchored is furniture, and furniture in a garage is a tipping hazard.
Step six: Load from the bottom up. Heavy on the bottom shelf, light on top. True for the cabinets and true for anything on the wall. A loaded top shelf raises the center of gravity on a tall unit and puts the most stress on the weakest brackets.
Step seven: Leave yourself room to reconfigure. Do not fill every slot on day one. Leave one empty bay and one empty shelf. Something is going to change. A new mower, a second bike, a project you did not plan for. A system you can move is worth more than a system that is perfectly packed.
Step eight: Do the seasonal swap twice a year. Spring and fall, pull the seasonal tools forward and push the others back. Twenty minutes, twice a year, keeps the whole thing working. Garages do not stay organized by accident.
The competition and why it lost
There are two philosophies in garage storage and people argue about them like politics.
Wall track systems, the Gladiator GearWall style setup, are the best option for heavy users. Steel tracks, hooks that hold up, and you can move a hook in ten seconds. The catch is cost and commitment, because the accessories are where the money goes.
The plastic track value option, the Rubbermaid FastTrack approach, is plenty for bikes and shovels and it installs in an afternoon. If you are hanging lawn tools and not tool chests, it does the job.
Overhead racks are a different conversation and a different article. The short version: most ceiling rack failures are mounting failures, not rack failures. People use drywall anchors on a garage ceiling and then act surprised.
And open shelving loses to cabinets for anything you care about keeping clean. That is not a knock on shelves. It is just what a garage does to them.
What this all costs
I am not going to print prices, because they move and I would be wrong by the time you read this. Both links above will show you the current numbers and you can decide from there.
What I will give you is the time cost, because that is the number people underestimate.
A wall organizer is a one hour job if you find your studs first, and a three hour job if you do not.
A cabinet and bench run is an afternoon of assembly plus an hour of leveling, and you want a second person for the tall units.
The sorting, the part where you decide what actually stays in the garage, is two weekends. That is not a system problem. That is a stuff problem, and no product fixes it.
The install order is the free part, and it is the part that decides whether your heavy duty garage storage system is still straight in five years. Find the stud. Match the hardware to the load. Load from the bottom. Leave room to move things later.
Do that once and the garage stops being a project.