How To Declutter A Garage Step By Step
I’ve been in more garages than most people have parked in, and I can tell you the mess is never about being lazy. It’s about not having a system. The stuff you use weekly is buried under the stuff you touched once in 2019, and the tote you need is always at the bottom of the stack.
Decluttering a garage isn’t about throwing things away. It’s about putting a system in place that survives real life, a 90-pound lab named Duke, and the 17 boxes your wife keeps asking about.
The step-by-step process below is the exact method I used to organize my own garage and a few of my clients’ shops. It’s not about buying a bunch of fancy bins. It’s about sorting, zoning, and mounting things so they’re off the floor. I’ve tested the storage gear involved, and I’ll tell you which pieces are worth the money and which ones you should leave at the store.
The system is simple: empty the room, sort into zones, mount the heavy stuff, and store the seasonal stuff up high. Do it in that order, and the garage stays clean.
The First Step: Empty It All
You can’t organize a garage by working around the stuff in it. You have to pull everything out onto the driveway. I know it looks worse before it looks better, but this is where the magic happens. I did this with my own gear last spring, and I found three drills I forgot I owned and a box of screws that saved me a trip to the store.
Sort everything into four piles: keep, donate, trash, and relocate. The relocate pile is for things that belong in the house or the shed. Be honest here. If you haven’t touched it in two years, it goes. I had a client who kept a broken leaf blower for four years because he was going to fix it. He never did. It went to the curb.
The Second Step: Zone the Floor Plan
Once the garage is empty, walk the space and assign zones. This is where my organizer mode kicks in. The stuff you use weekly goes at eye level. Seasonal stuff goes up top. That’s the whole system. For me, the zones are: tools and workbench, lawn and garden, sports and bikes, and the wife’s 17 boxes.
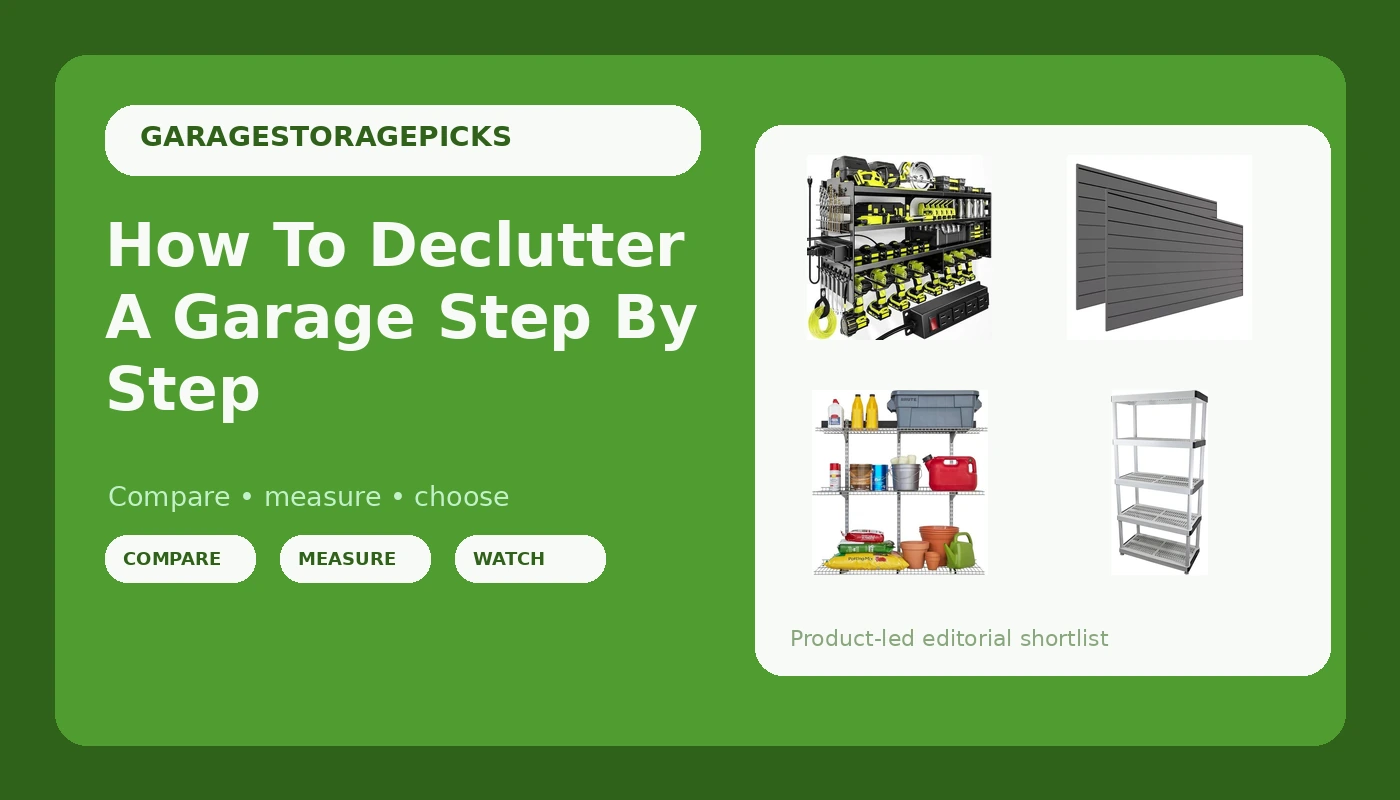
The workbench zone gets the tools you reach for every day. The wall above the bench is prime real estate. That’s where I mounted the POKIPO. It claims 600 pounds, and I believe it. Once it’s on a stud, it’s rock solid.
The mounting holes actually line up with standard stud spacing, which is rarer than you’d think. I’ve got my Dewalt and Ryobi batteries plugged into the charging station on top, and they’re always ready to go.
The metal feels a little flimsy when you’re putting it together, but it firms up once it’s on the wall. It does flex horizontally, so you might get a slightly off-kilter look even if you level it perfectly. I mounted mine to a backer board because my studs are weird, and it’s been flawless for six months. For the price, it’s really worth it.
The Third Step: Mount the Heavy Stuff
The floor is for cars, not for tool chests and bikes. If it can hang, it should hang. This is where the storage systems come in, and this is where I separate the good from the junk.
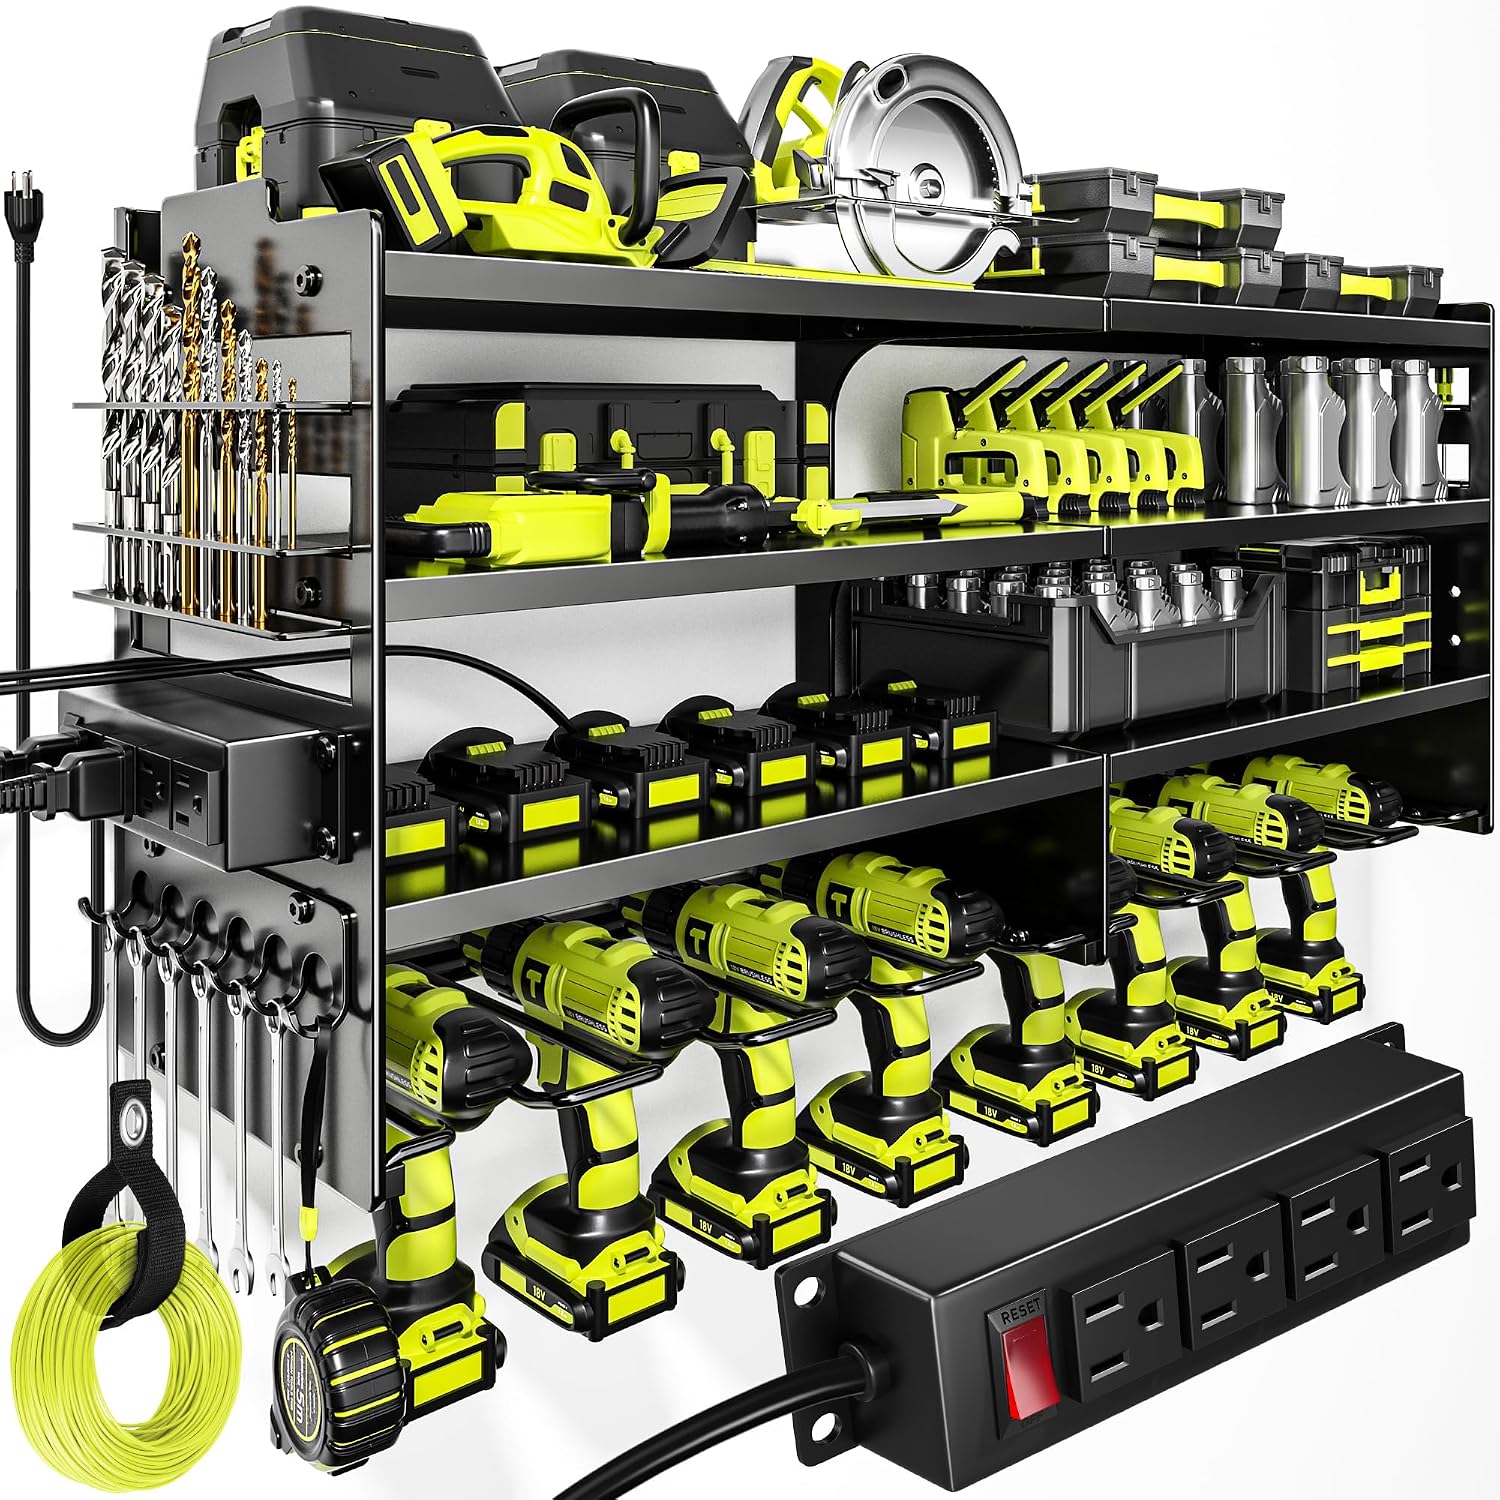
The ProSlat Wall Panels are the ones I recommend for most homeowners. They’re a solid middle ground between a full pegboard and a heavy-duty rail system. The panels are thick and the mounting hardware is hefty, which tells me the manufacturer cared. I installed these in my buddy Rick’s shop, and we loaded them with shovels, rakes, and a weed whacker. No flex, no sag, no drama.
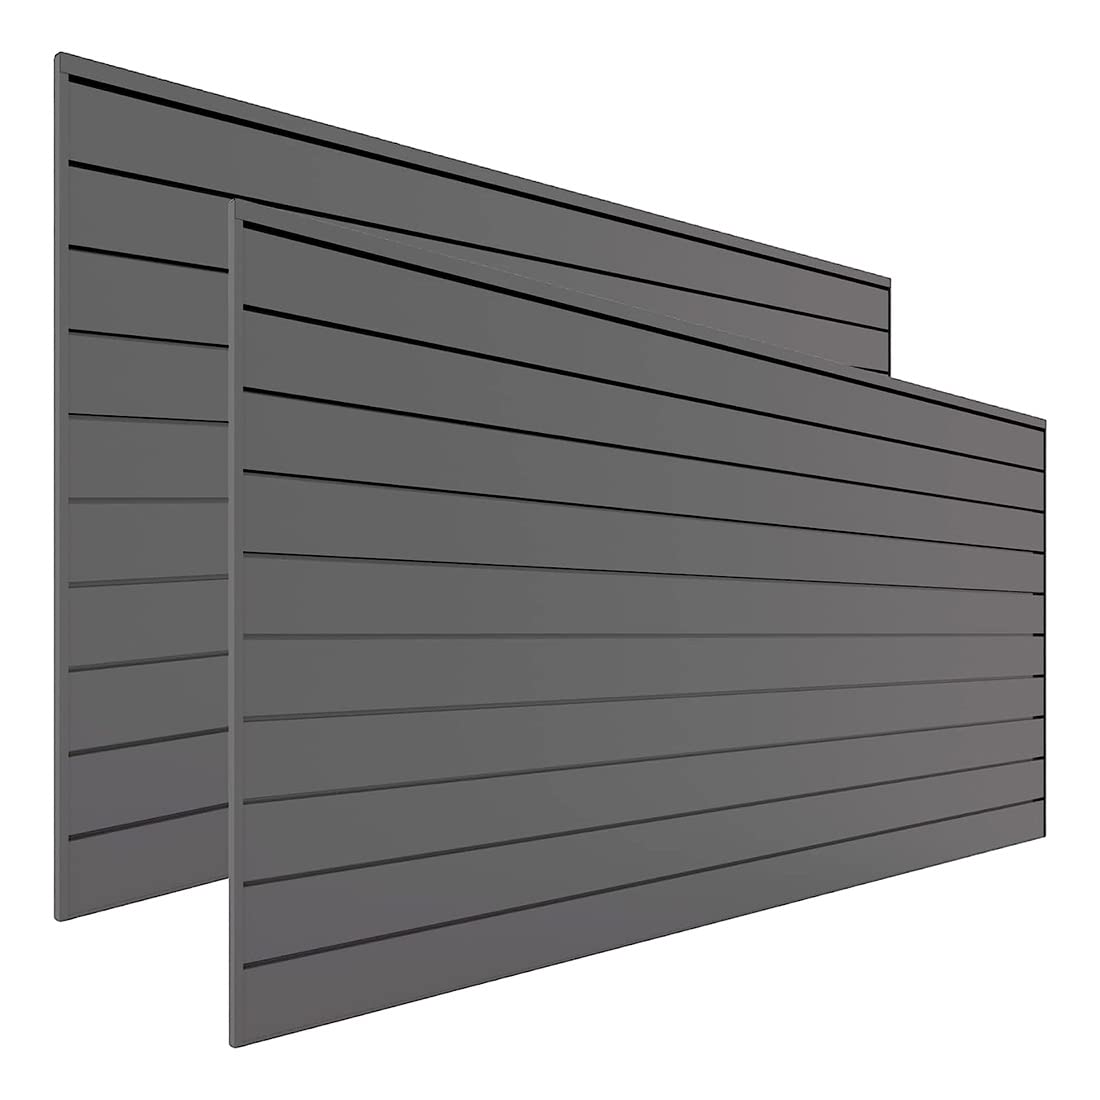
The Rubbermaid FastTrack is the alternative if you want something a little more modular. The rails are solid, and the hook options are plentiful. But here’s the thing: the FastTrack is a rail system, and it’s a good one.
If you’re comparing it to the ProSlat, it comes down to whether you want panels or rails. Panels give you more flexibility for small items.
Rails are better for heavy tools that need a dedicated spot.
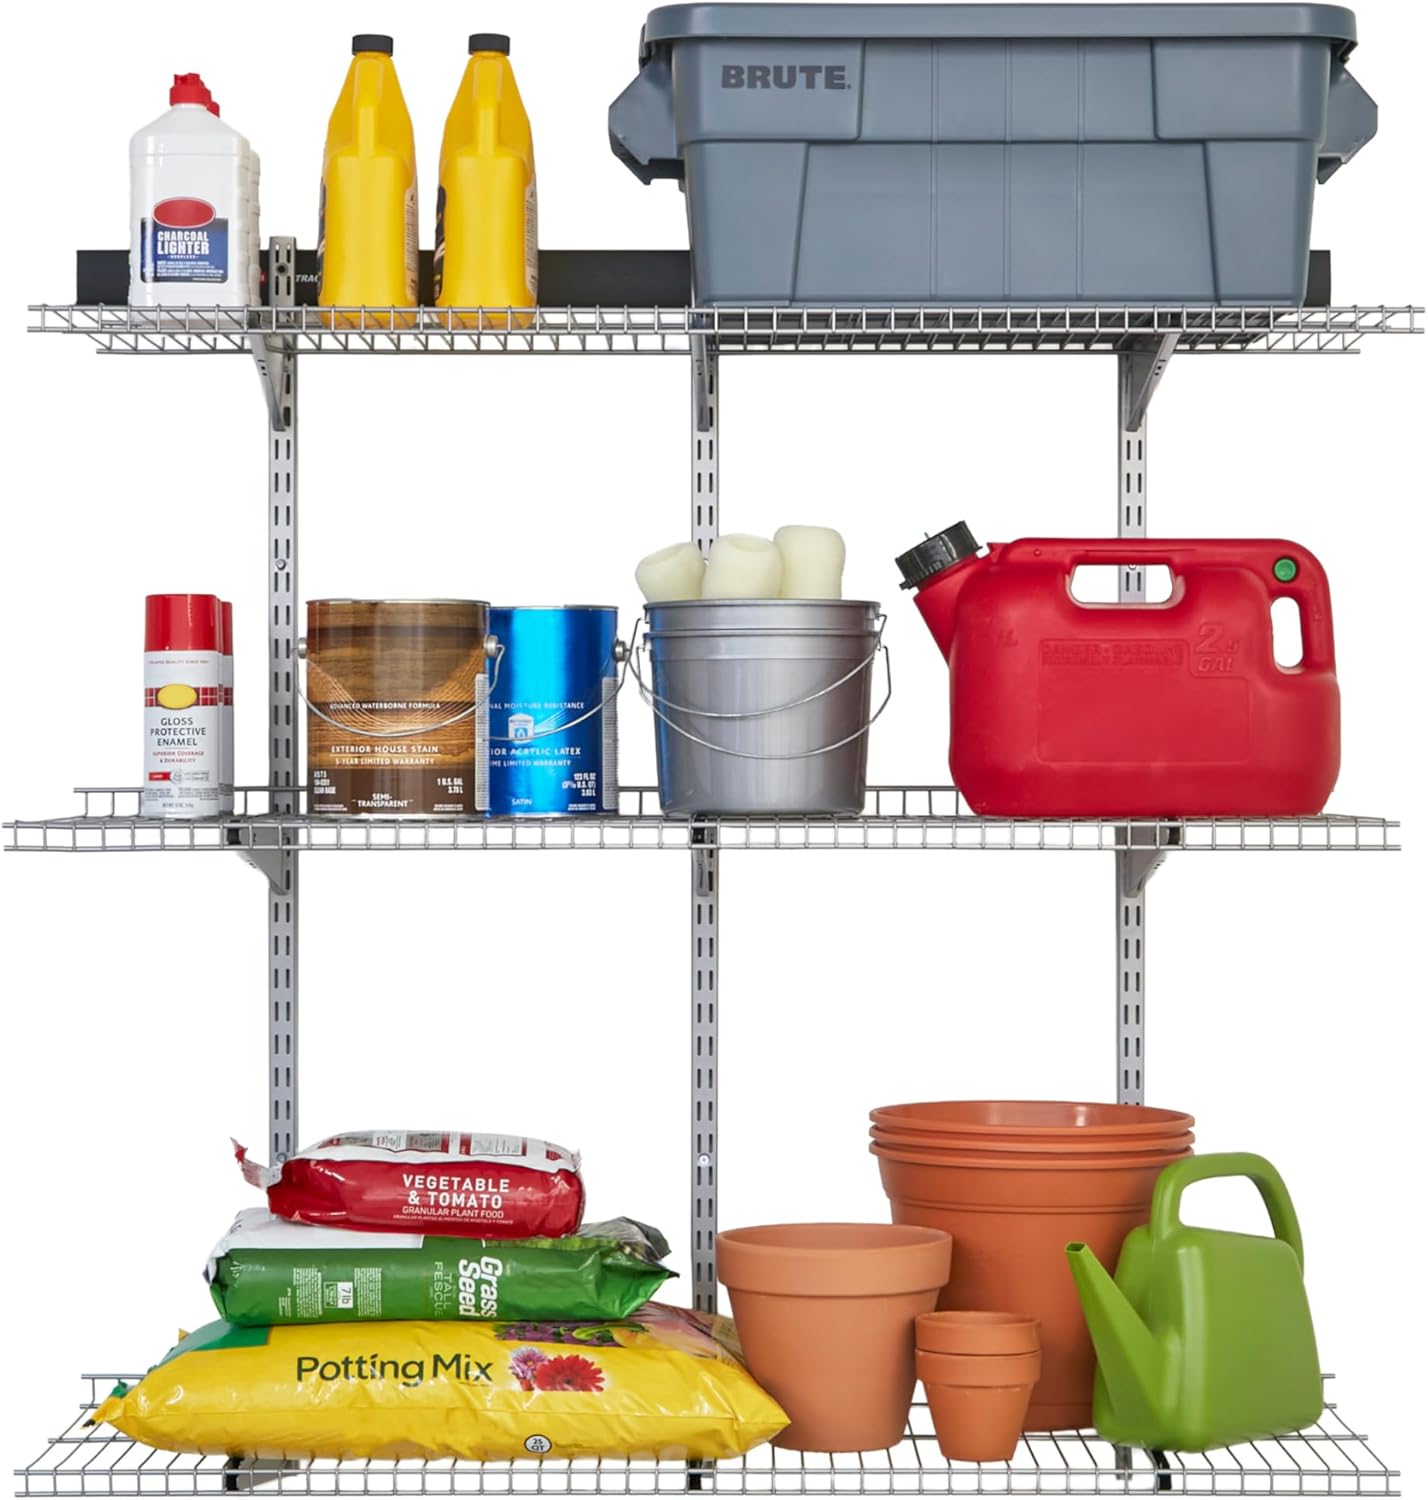
I’m not a fan of the LBT 66" Garage Tool Organizer for this step. The packaging is deceptive. It arrives as four separate strips, not the one rail you expect. That means you’re leveling each piece to the previous one, which took me most of an afternoon.
The included screws are hefty, and the hook options are plentiful, but the rubber pieces at the bottom of the hooks tear easily.
Then your hooks go floppy. The drywall anchors need exact hole sizes or they won’t go in. Buy screw-in anchors or find a stud.
If you do that, it’s sturdy. If you don’t, good luck with that.
The Fourth Step: Tote Storage Done Right
Once the walls are sorted, it’s time to deal with the boxes. This is where most people mess up. They buy a cheap rack, load it with totes, and watch it sway. I’ve seen it fail more times than I can count.
The Husky 5-Tier Bolted Steel Shelving Unit is the one I trust with my heavy stuff. I’ve got a full tool chest on the bottom shelf, and it doesn’t budge. The shelves are rated for 175 pounds each, and I believe it. The bolts are hefty, and the unit goes together without a fight.
The HDX 5-Tier Plastic and Steel Shelving is a budget option that’s fine for light totes, but don’t push it. The plastic shelf clips are the weak point. They’ll hold a tote of Christmas lights, but they won’t hold a stack of 27-gallon bins full of tools. If you’re storing seasonal stuff up top, it’s fine. If you’re storing anything heavy, spend the extra money on the Husky.
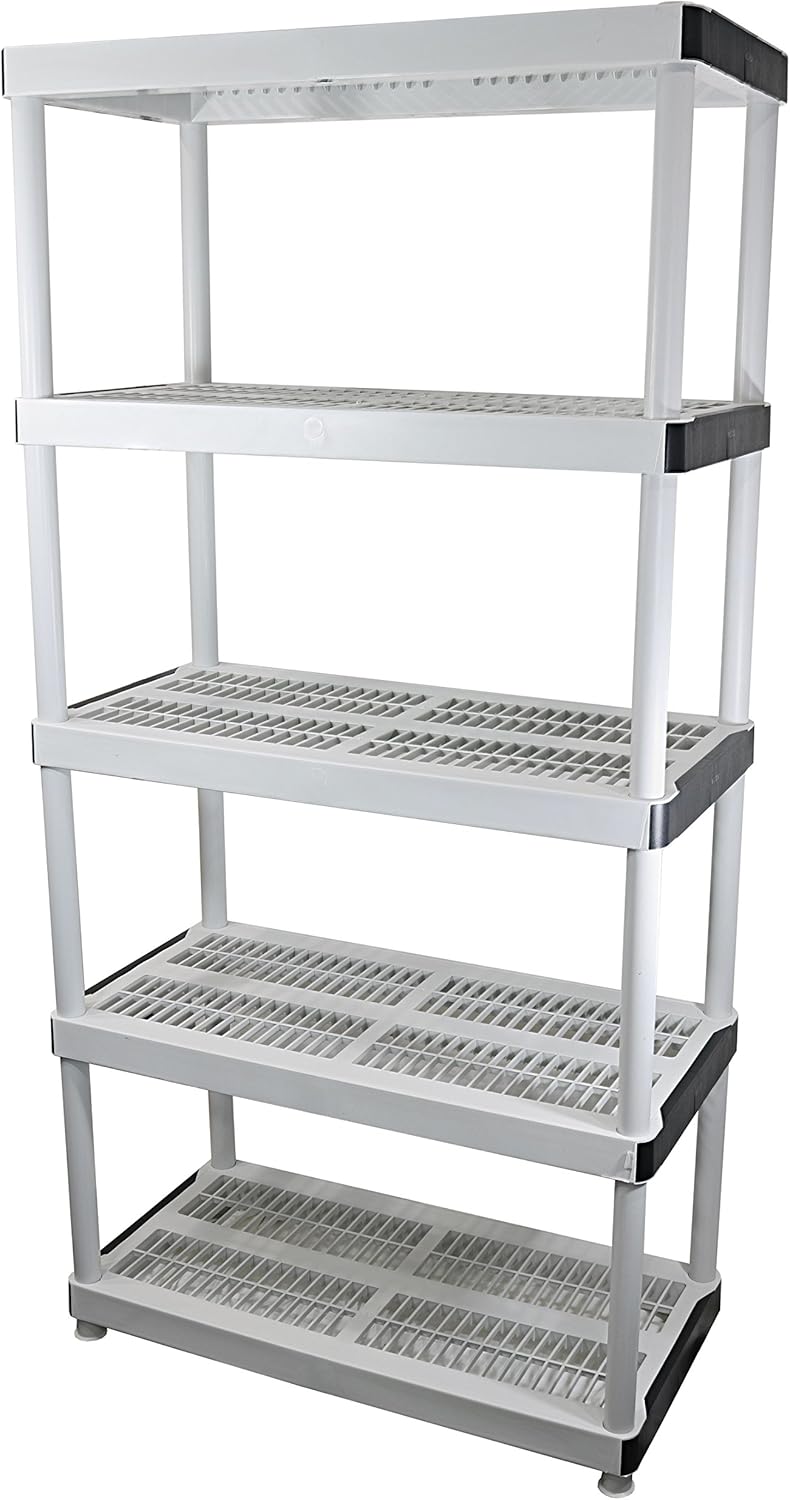
The Rubbermaid 5-Tier Steel Shelving Unit is a solid middle ground. It’s not as heavy-duty as the Husky, but it’s sturdier than the HDX. The shelves are wire, which means you can see what’s on them, but small items will fall through. I use it for totes and larger bins, and it’s held up fine for the past year.
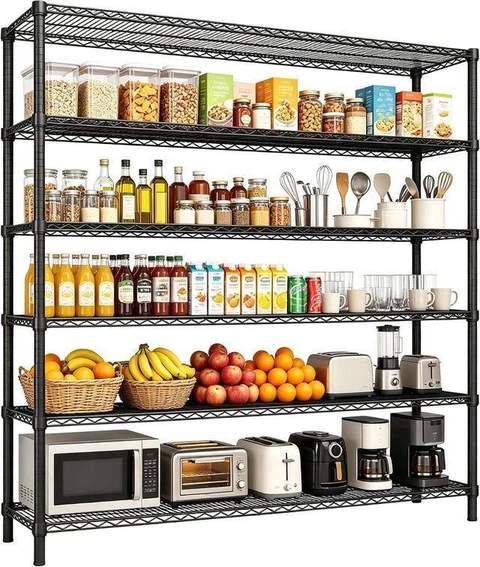
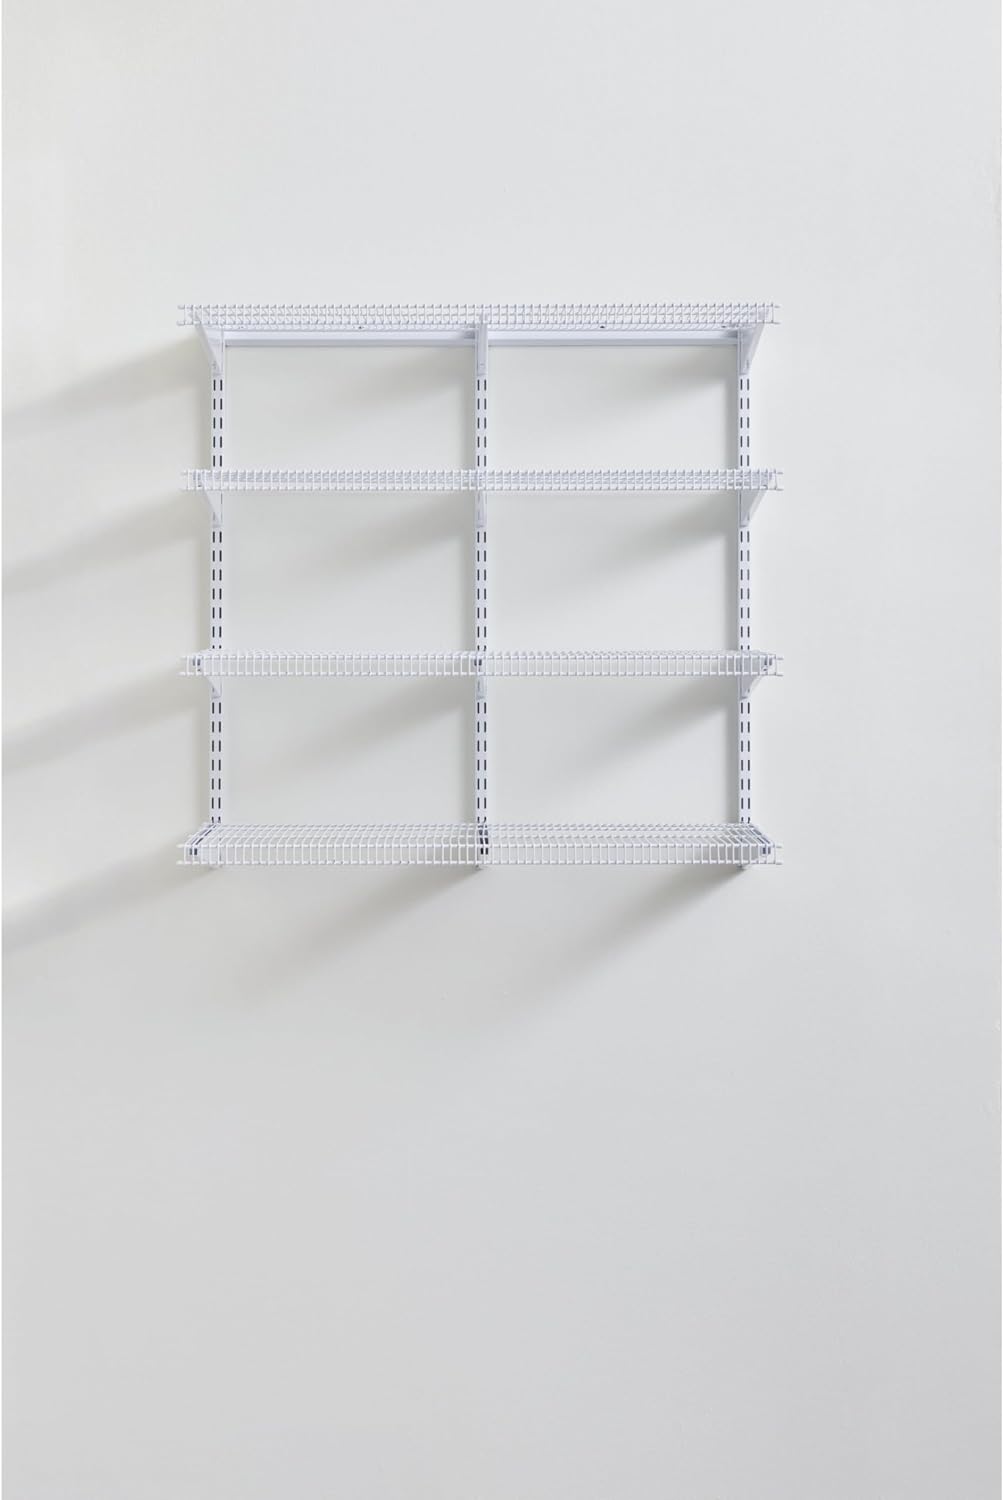
The Fleximounts 4-Wire Shelf is a different beast. It’s a wall-mounted shelf, not a freestanding one. It’s great for light items, but I wouldn’t trust it with anything heavy. The mounting hardware is decent, but the wire shelves flex under load. I use it for spray paint and small parts, and it works.
Now, about the totes themselves. The Husky 27-Gallon Clear Storage Tote is the one I recommend. It’s clear, so you can see what’s inside, and the lids latch securely. The Sterilite 18-Gallon Stacker is a cheaper option that works, but the lids don’t seal as well. The HDX 20-Gallon Clear Tote is a good middle ground, and the Bankers Box Clear Tote is fine for lighter items.

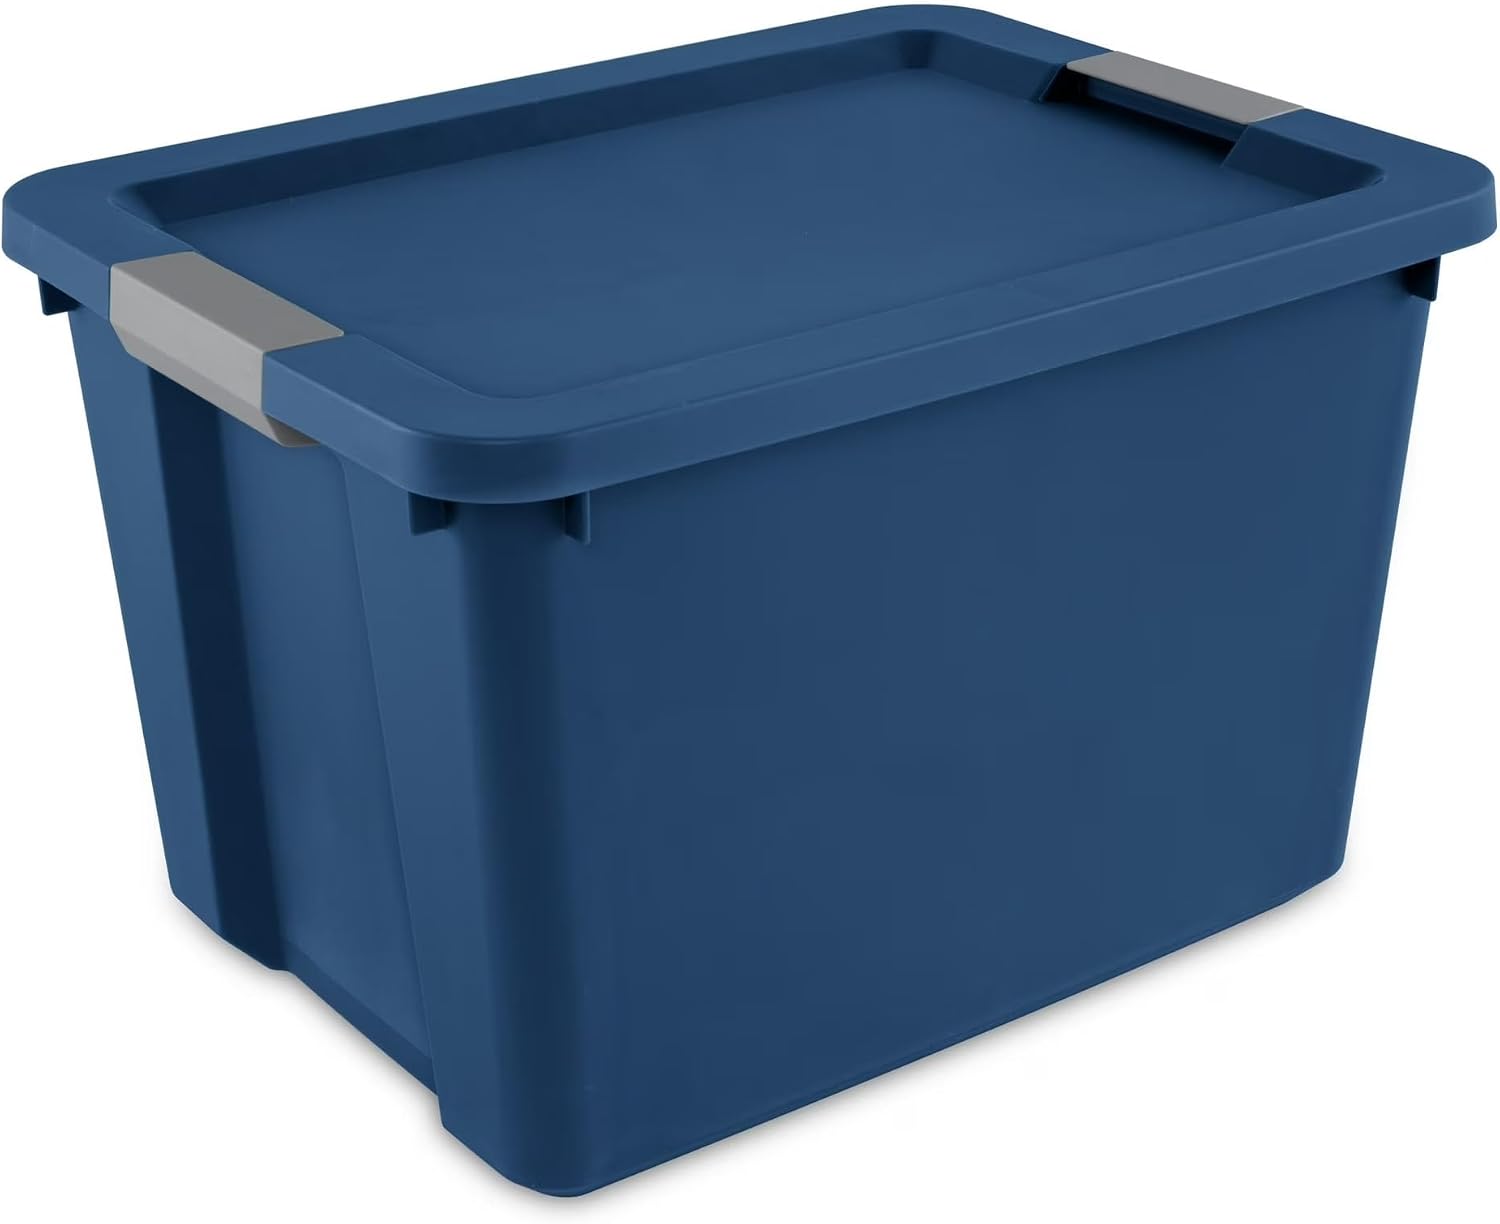
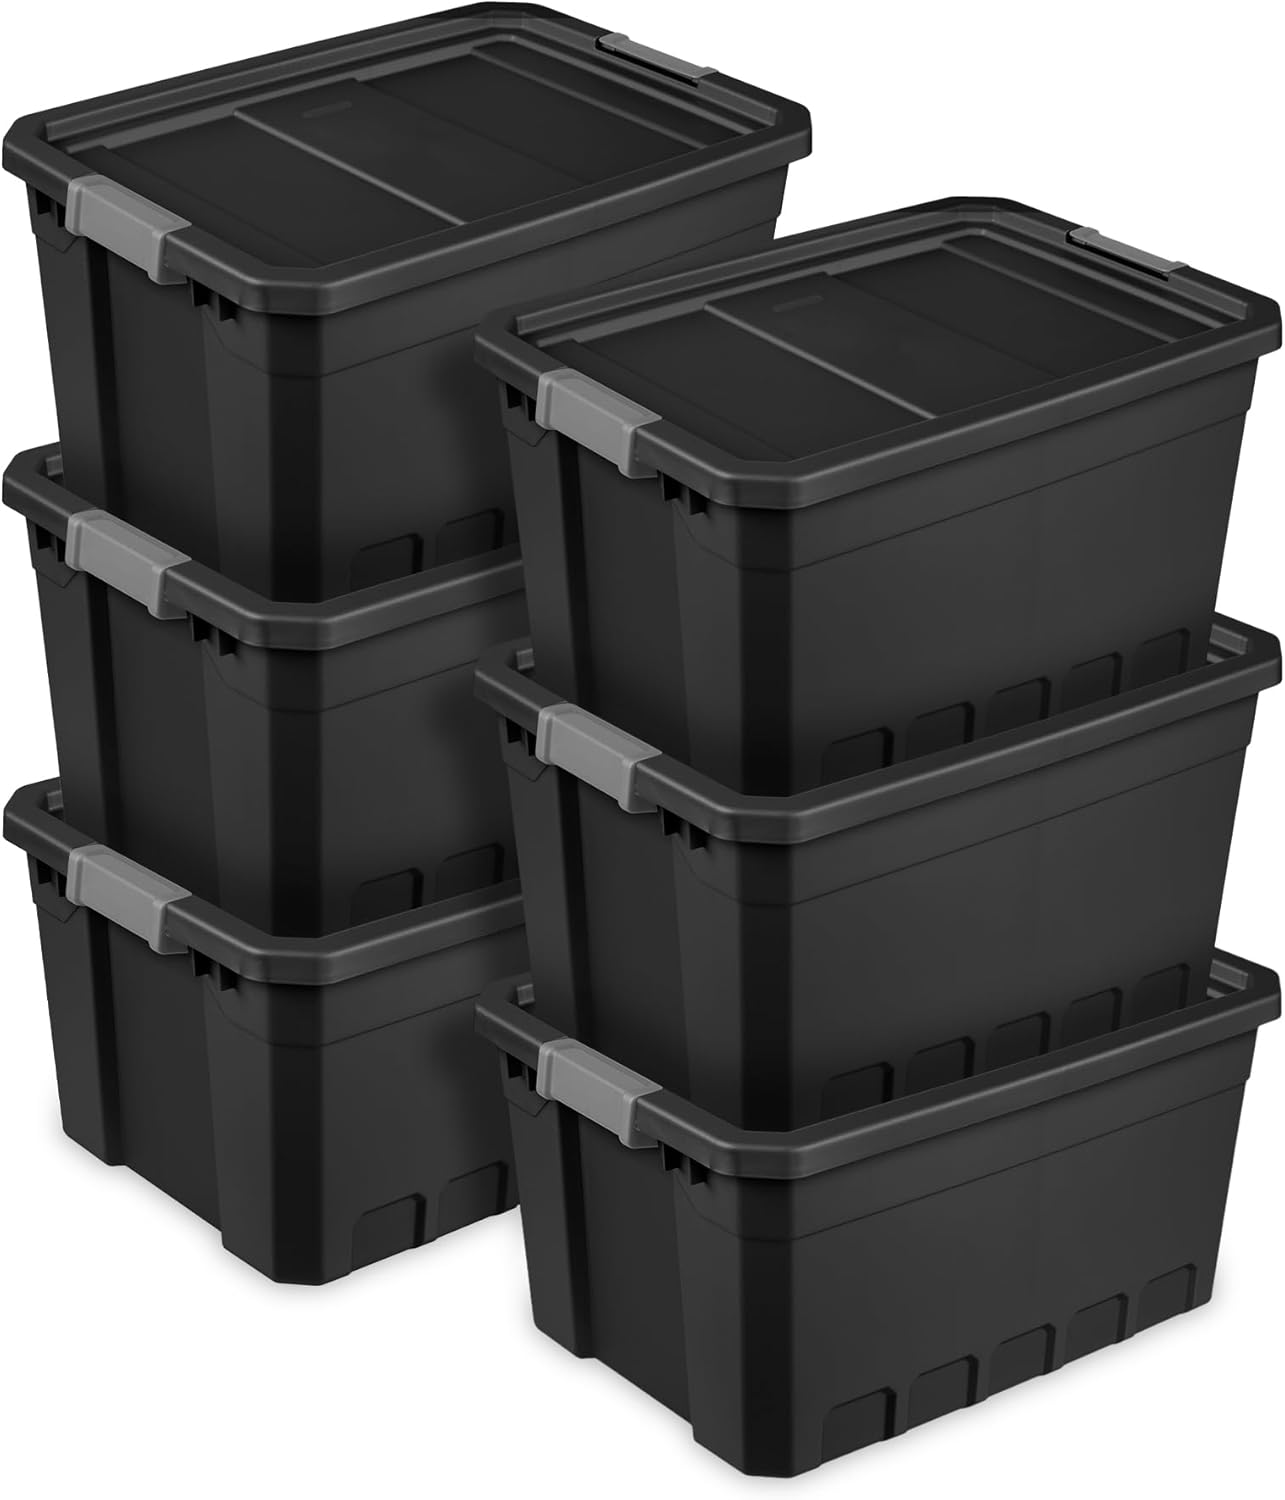
The Sterilite 30-Gallon Tote is the one I use for bulky seasonal stuff like patio cushions. It’s big, and it holds a lot. The Homz 14-Gallon Tote is smaller, good for Christmas ornaments or craft supplies.

The Tote Rack That Disappointed Me
I have to call out the Sterilite 30 Gallon Plastic Storage Bin because I keep seeing it recommended, and it’s not worth it. The price is tempting, but the execution is junk. The knock-in connectors are a whack-a-mole nightmare.
You hammer one in and the adjacent one pops out. The locking pins are tiny pieces of brittle plastic that don’t even reach the bracket they’re supposed to lock.
I used zip ties, lots of them, over twenty per shelf. It works, but it’s ugly.
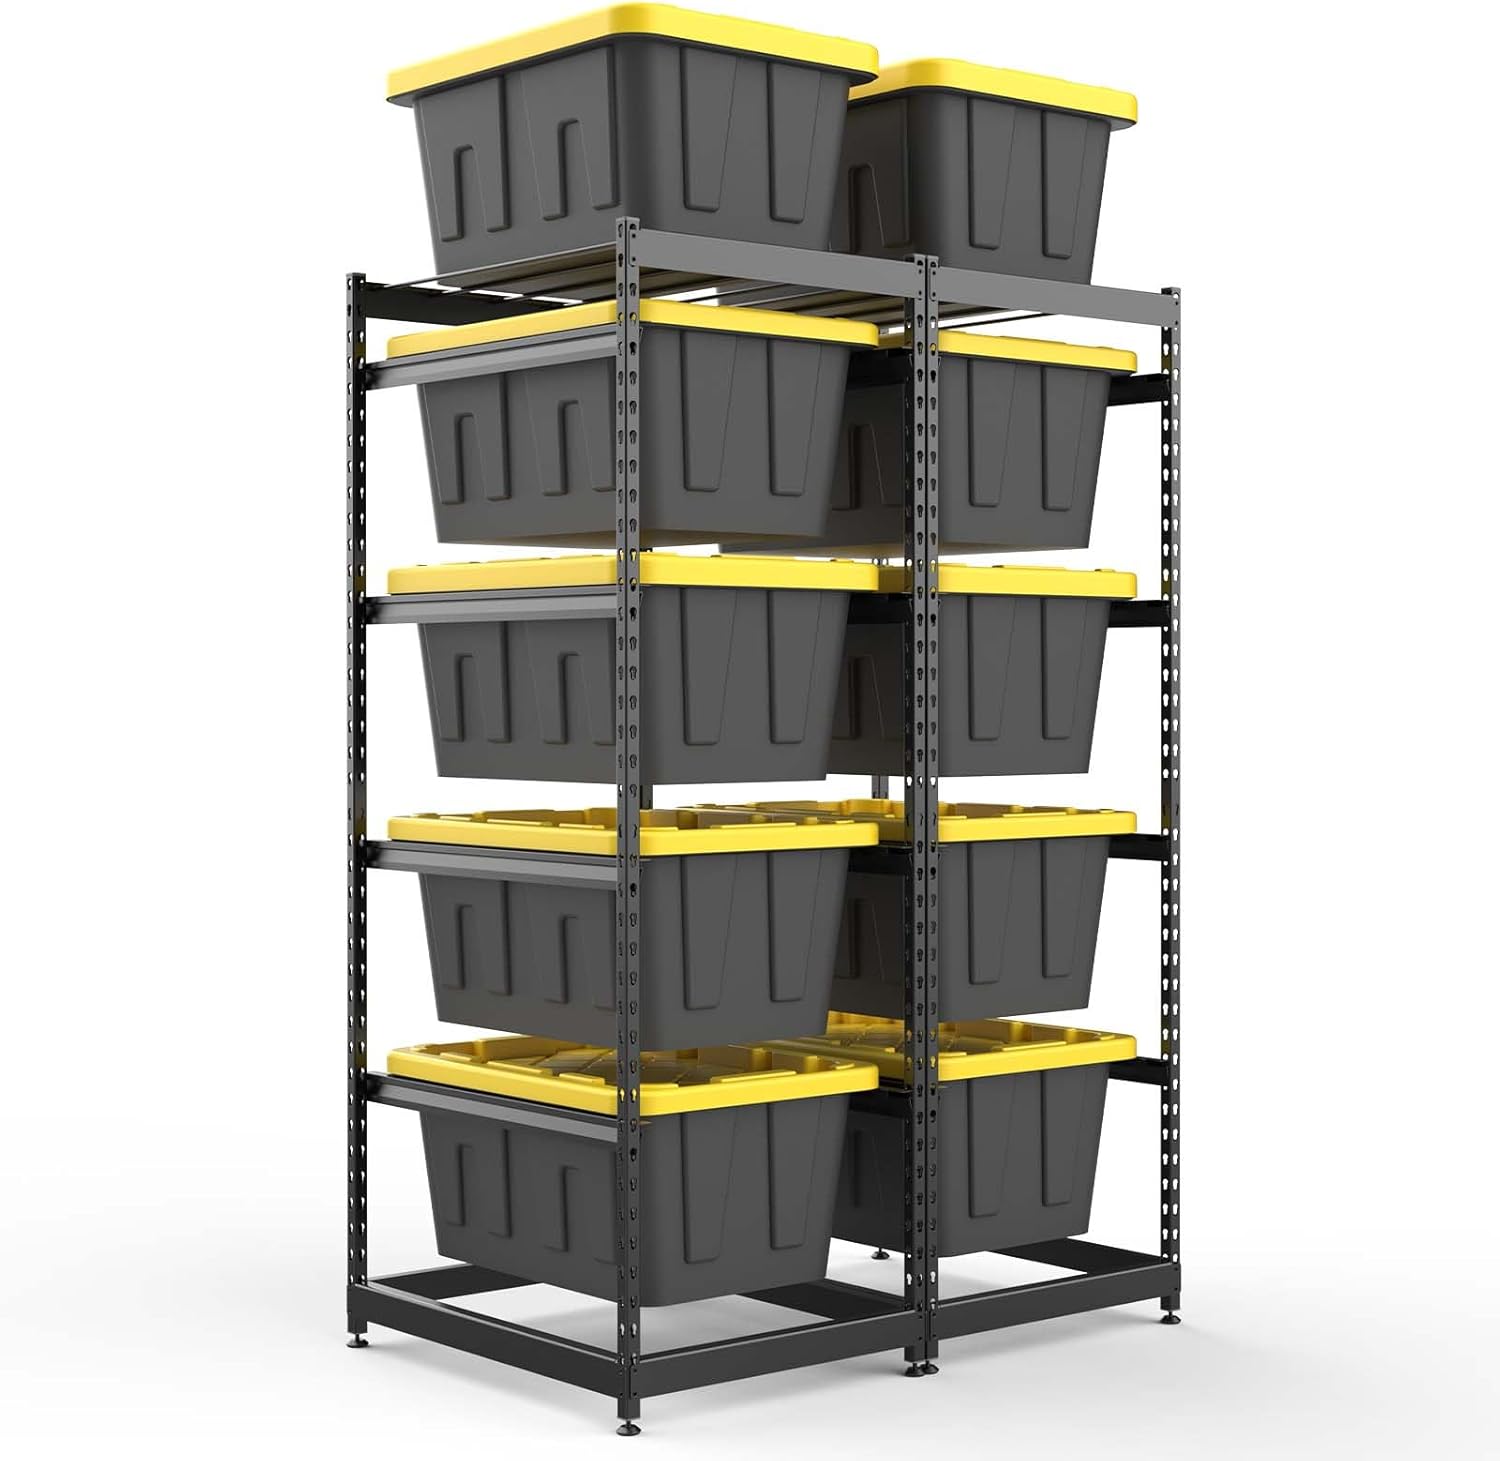
The instructions are missing orientation details, the leveling feet fall off, and the whole thing sways even when fully assembled. The one nice thing: it fits Lowe’s yellow top bins perfectly, and you can pull the totes out and open them without removing them from the rack. But that’s not enough to save it. It’s probably not worth the savings compared to other brands.
The Last Step: Label and Maintain
Once everything is on the wall and in totes, label the totes. I use a sharpie and masking tape. It’s cheap, and it works. The system only works if you can find things. Put the stuff you use weekly at eye level. Seasonal stuff goes up top. That’s the whole system.
Maintenance is the part nobody talks about. Once a season, do a quick sweep. If you bought something new, find a home for it. If you haven’t touched something in a year, donate it. The garage stays clean because the system works, not because you’re a neat freak.
Should You Buy It?
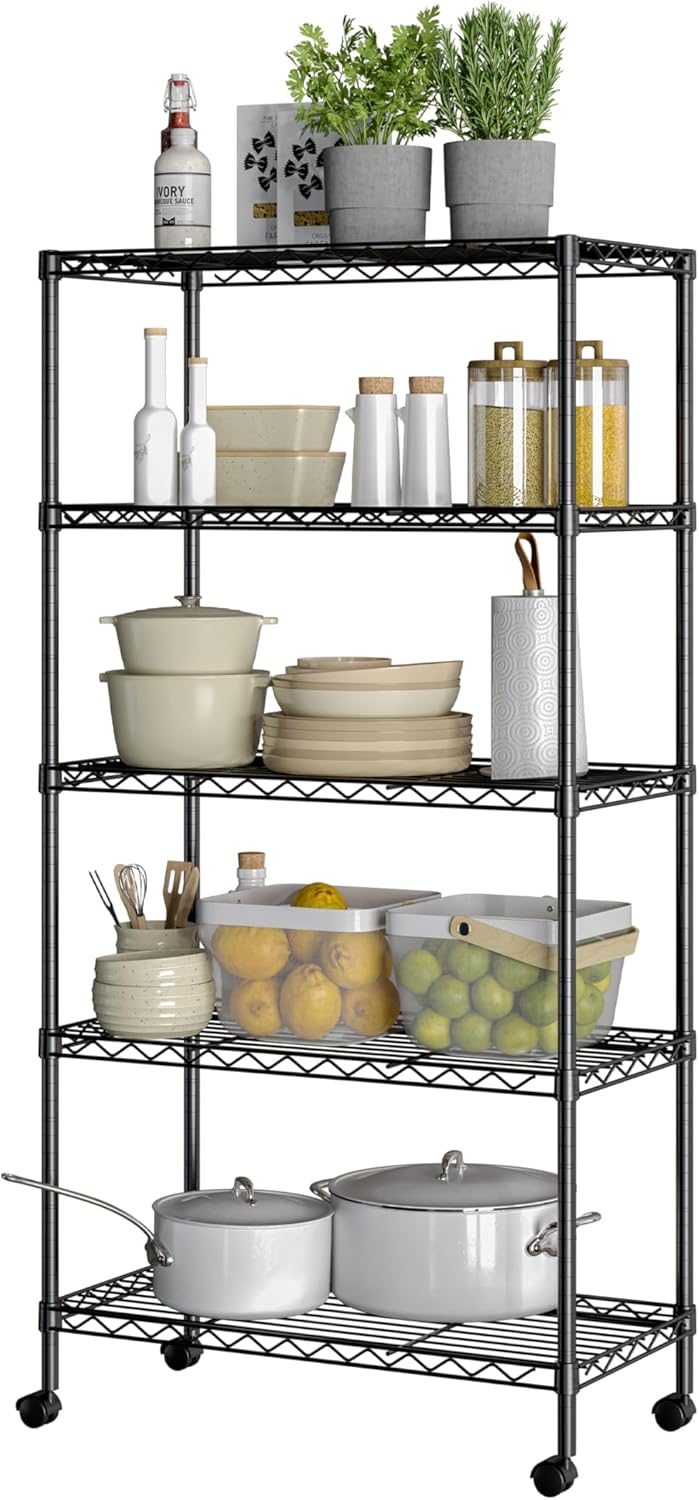
Should you buy a wall system? Yes, if you have tools and no place to put them. A wall system is the best place to start, because it gets your drills off the bench and onto the wall where they belong. Should you buy a tote rack? Only if you have a lot of totes and a floor to spare. Skip the FERO and get a 5-Tier Steel Wire Shelving instead. It costs more, but it’s the last shelving unit you’ll buy.
The whole process took me a weekend. I pulled everything out, sorted it, mounted the wall systems, and loaded the shelves. The garage has stayed clean for six months, and my dog Duke still thinks the lower shelf is his couch. That’s the test. If the system survives Duke, it’ll survive you.
I’m currently testing a few more wall panels to see how they hold up against the ProSlat. I’ll update this piece when I have a verdict.